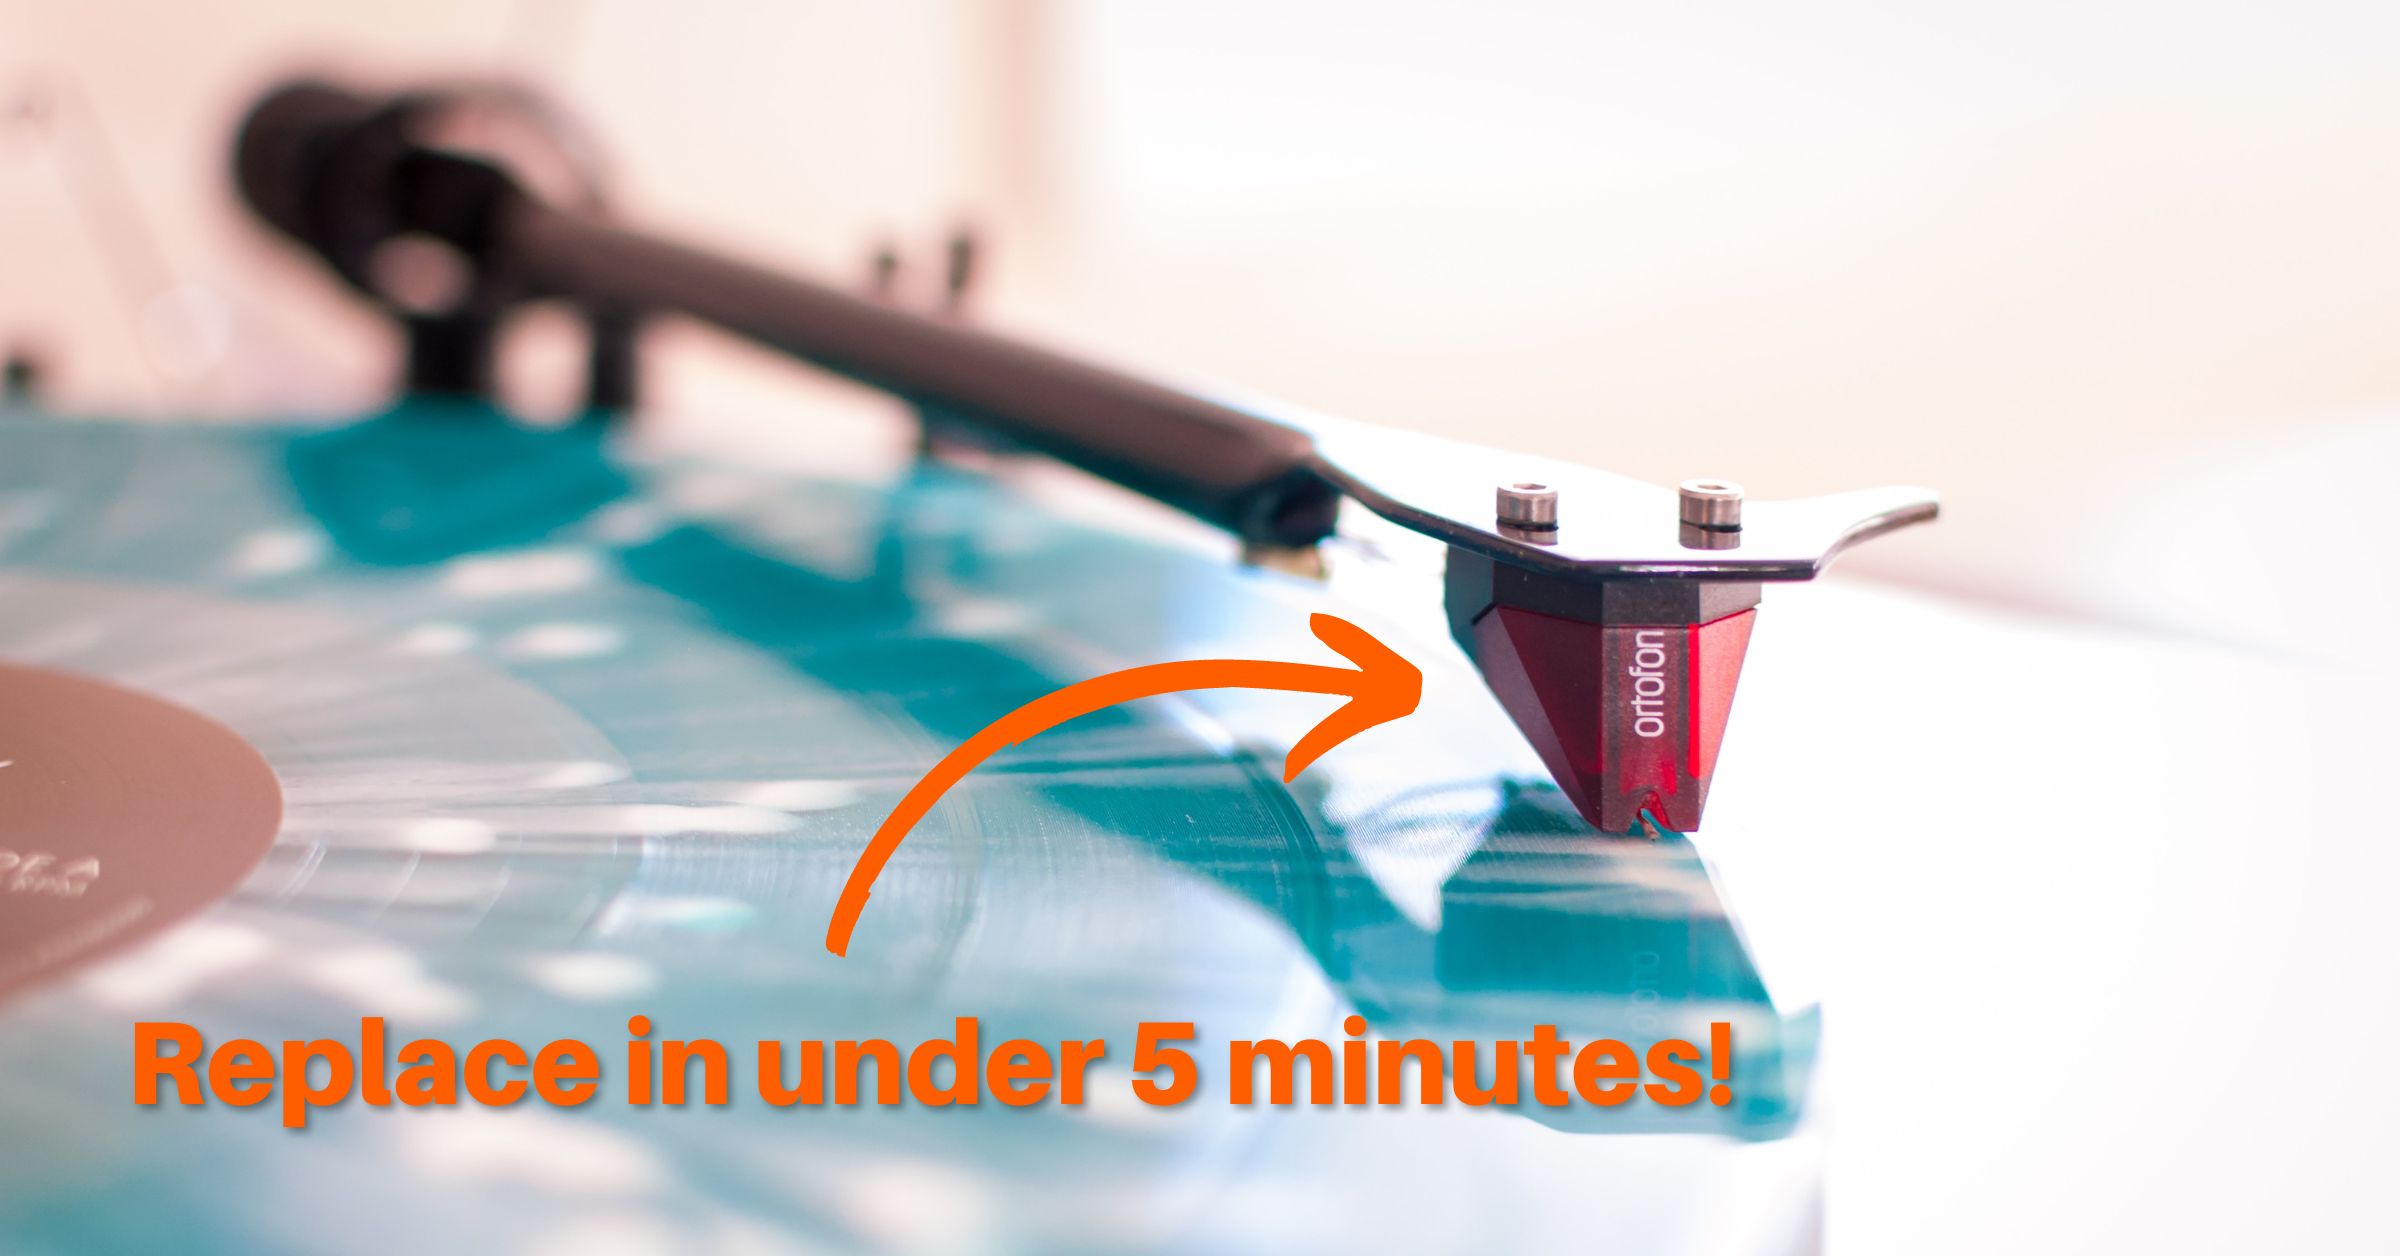
If you have a turntable, chances are that at some point you will need to replace the cartridge. Although it may seem like a daunting task, replacing your turntable cartridge is actually quite simple and can be done in under 5 minutes.
Here are 8 steps that will show you how to replace your turntable cartridge in no time.
What you need
- New phono cartridge
- Alignment protractor – printable one here
- Tracking force gauge
- Small screwdriver or Allen key
- Pliers (optional)
What’s covered in this guide?
This guide covers the basics of replacing standard mount cartridges and works for both moving magnet and moving coil cartridges. We do not go into detail on p-mount cartridges because that mounting style tends to be more entry-level and easy to replace without thorough installation instructions.
This guide is NOT for record player needles. We have a separate record player needle replacement guide here.
Not sure if your cartridge or stylus needs to be changed? Check out our guide on how to tell if a turntable stylus is bad.
8 Steps for Replacing a Turntable Cartridge
Now that we have everything we need, let’s get started.
Step 1: Ensure the stylus guard is on the old cartridge and the turntable is unplugged
Just because you’re replacing the old cartridge doesn’t mean you shouldn’t protect it. We recommend hanging on to your old turntable cartridge (as long as it still works) just in case something goes wrong with your new stylus or cartridge down the road.
Additionally, since we’ll be messing around with some of the electrical wires associated with the turntable, it’s best practice to unplug it from the wall so nothing accidentally gets turned on in the replacement process.
Step 2: Unplug the 4 wire leads from the old cartridge.
Using your fingers or a set of needle-nose pliers, unplug the 4 color-coded wire leads from the back of the old cartridge and tonearm. It’s important to be very careful during this process to not bend the wires, so take your time if necessary. If available, lock your tonearm to its stand so it does not wiggle around and move during this process.
Depending on your new cartridge, it might be smart to take a photo of where the leads are plugged in. Sometimes cartridges won’t have obvious lead color indicators and it can save you from guesswork.
Note: if you have a removable headshell, this is much easier if you remove the headshell first.
Step 3: Remove screws that hold the cartridge to the headshell
Remove the screws that hold the cartridge to the headshell. Be careful not to lose these small screws as they can be easy to misplace. Once the screws are removed, you can wiggle the old cartridge off of the headshell.
Be sure to be holding the cartridge at all times so it doesn’t fall and damage the stylus tip.
Step 4: Connect 4 wire leads to the new cartridge
Now it’s time to connect the 4 wire leads to the new cartridge. Make sure you consult your turntable manufacturer’s user manual or the notes/ photo you took earlier for the correct color order.
Generally, the order is as follows:
- Red: Right +
- Green: Right –
- White: Left +
- Blue: Left –
It’s also important that the stylus cover is attached to the new cartridge at this point to prevent anything from breaking.
Step 5: Screw the cartridge into the headshell
Screw the cartridge back into the headshell.
It’s important that the screws are loose enough to pivot the cartridge left and right. This will be important for cartridge alignment in the next step.
Step 6: Set the tracking force
With the cartridge installed, it’s now time to set the tracking force. Most cartridges come with a recommended tracking force, which can generally be found in the user manual. If you don’t have your user manual, a quick Google search should do the trick.
For a full guide on this step, you can consult our guide on how to set tracking force.
Step 7: Align the cartridge
Using an alignment protractor (sometimes included in the box of new cartridges), align the cartridge so that the needle is in the correct position. This will ensure that your turntable is playing correctly and can accurately track the record groove.
Improperly aligned cartridges will affect sound quality and can damage your vinyl records
Step 8: Fully tighten the screws without rotating the alignment of the cartridge
Now that the cartridge is aligned, you can fully tighten the screws without rotating the alignment of the cartridge. It’s a good idea to double-check the alignment after this is completed.
It’s that simple
And there you have it! You should now know how to replace your turntable cartridge in under 5 minutes. Thanks for reading and happy listening!
If you found this guide helpful, be sure to check out our other vinyl guides and resources.

Lead Editor / Owner
After beginning his career in the video and audio recording industry, Andrew started HiFi Hippo to share his knowledge and passion for vinyl and vintage audio with other readers.