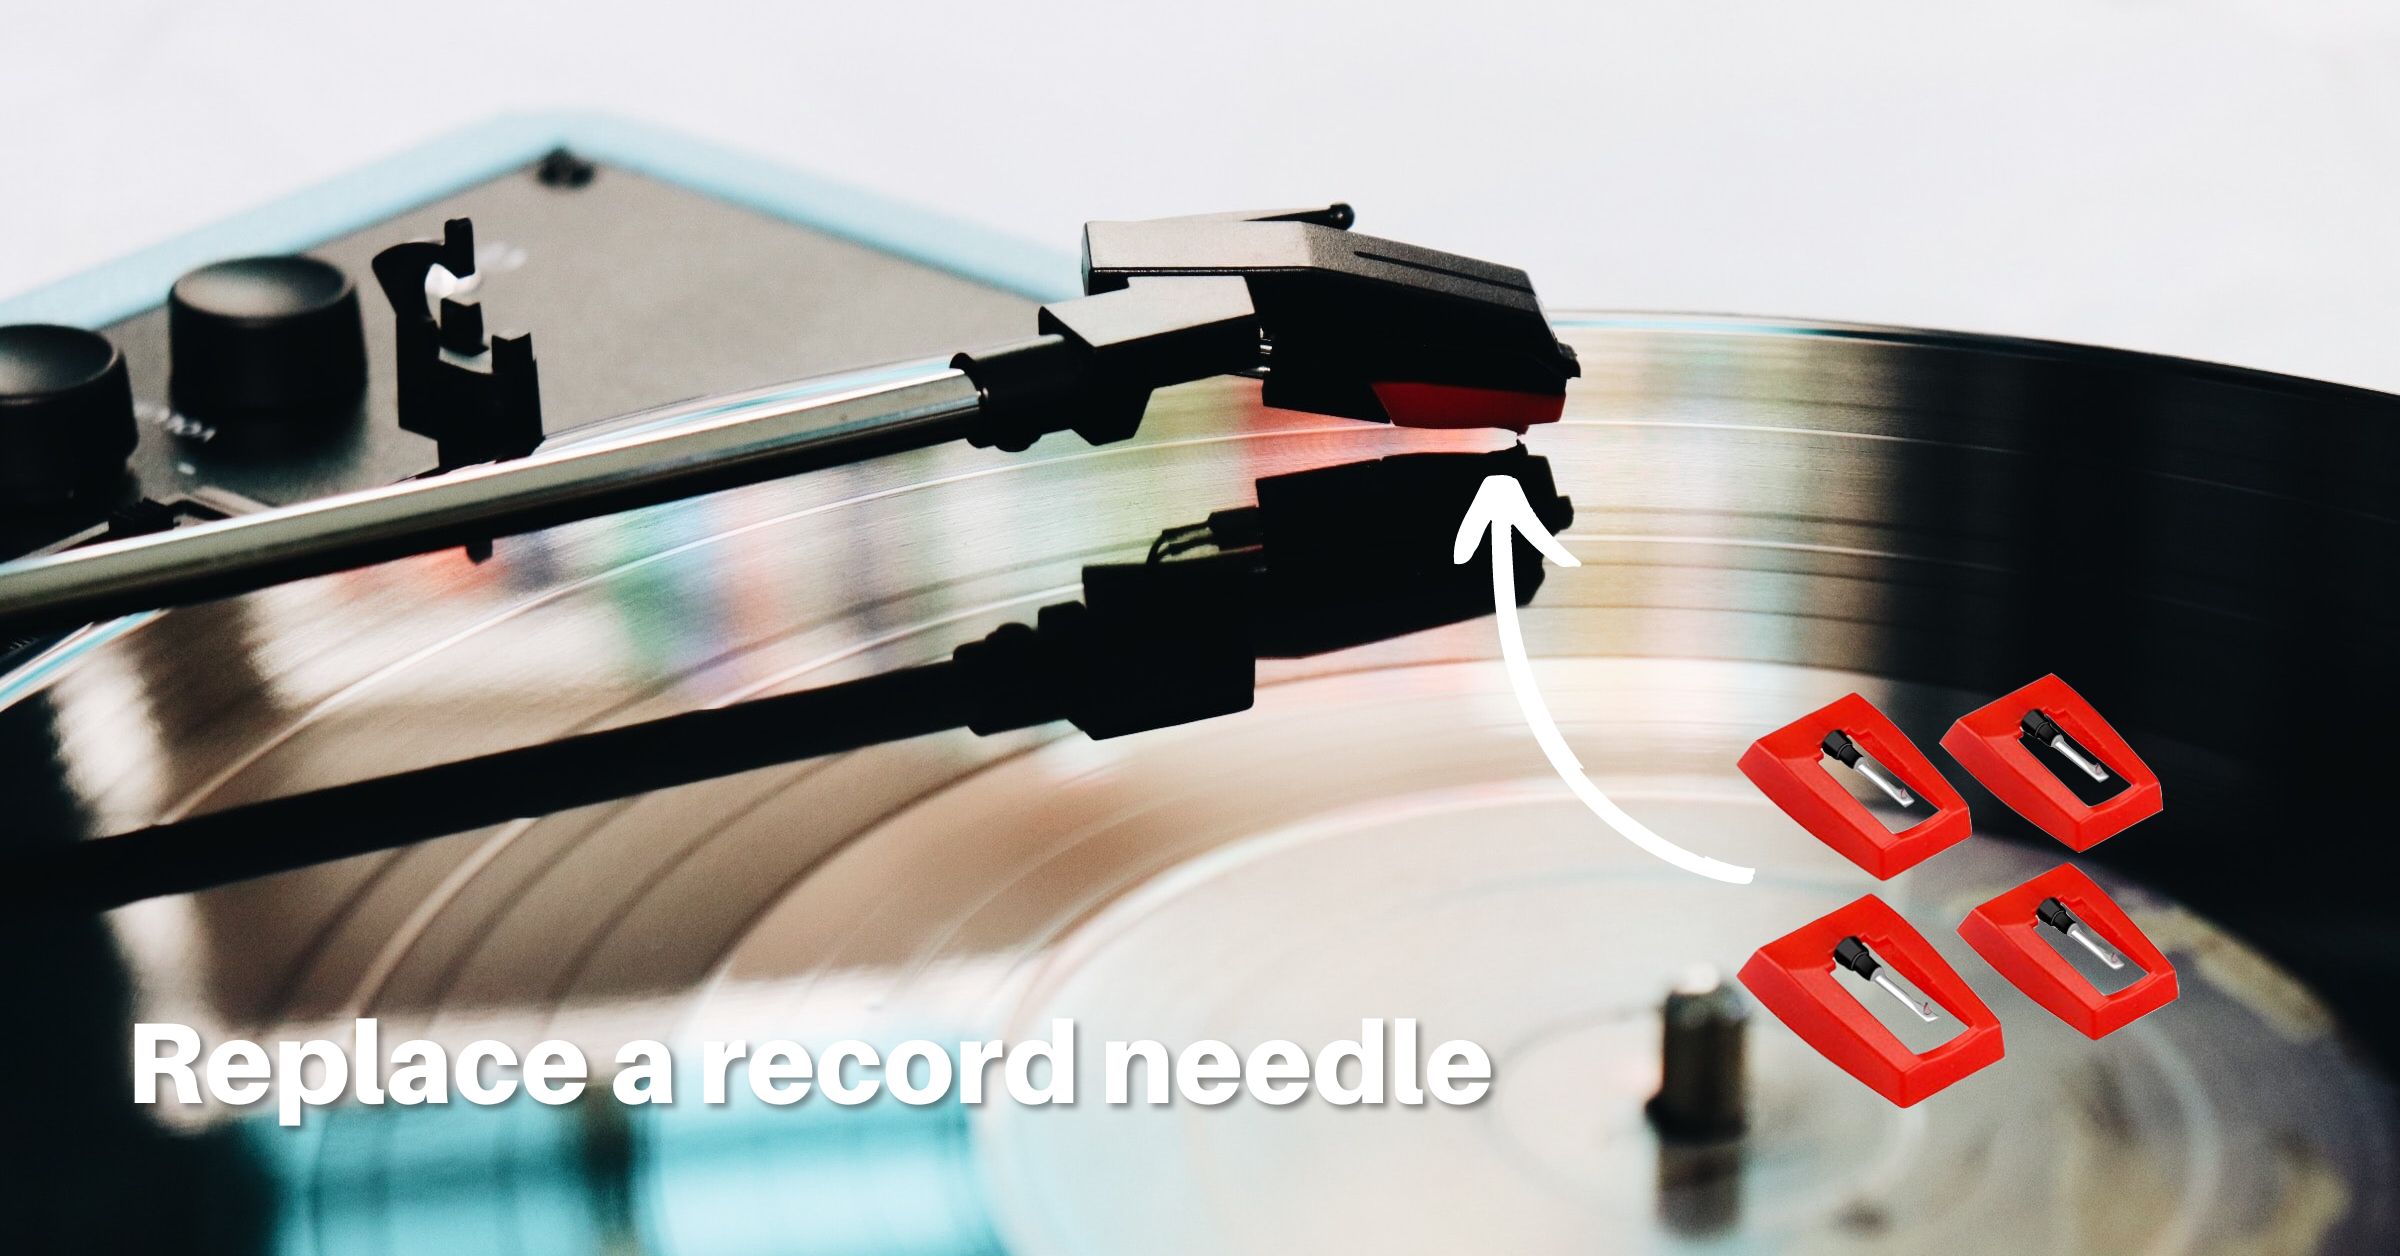
Is your record player sounding dull or scratchy? Maybe you’re noticing skips are happening more frequently? Or perhaps it’s just been a while since you’ve replaced your record player needle? Regardless of the reason, this quick and simple guide will help you replace the needle on your record player in under 5 minutes.
What you’ll need
- A small flathead screwdriver
- A replacement stylus
Before you begin
Please note that this is a guide for a record player needle, not a turntable cartridge. If you have a turntable, you’ll want to read our guide on mounting a replacement cartridge to a turntable, which is a different process.
If you’re not sure if you have a record player or a turntable, you can check out our guide on turntable vs. record players.
A quick way to tell if you have a record player is if the needle is red. We’ll have a photo below.
Finding the right replacement needle for your record player
When considering a needle replacement, most models are universal, meaning they will fit any standard record player.
A new stylus assembly is fairly inexpensive, and they often come in packs of 4 or more, so we recommend replacing your stylus often. We’ll cover when you should replace the needle further on in this guide.
Replacing a record player needle in under 5 minutes
Now that we have all of our tools and a new needle on hand, it’s time to start the process.
Before we begin, make sure your record player is unplugged and placed on a flat, hard surface that’s easy to work on.
Step 1: Remove the old stylus assembly
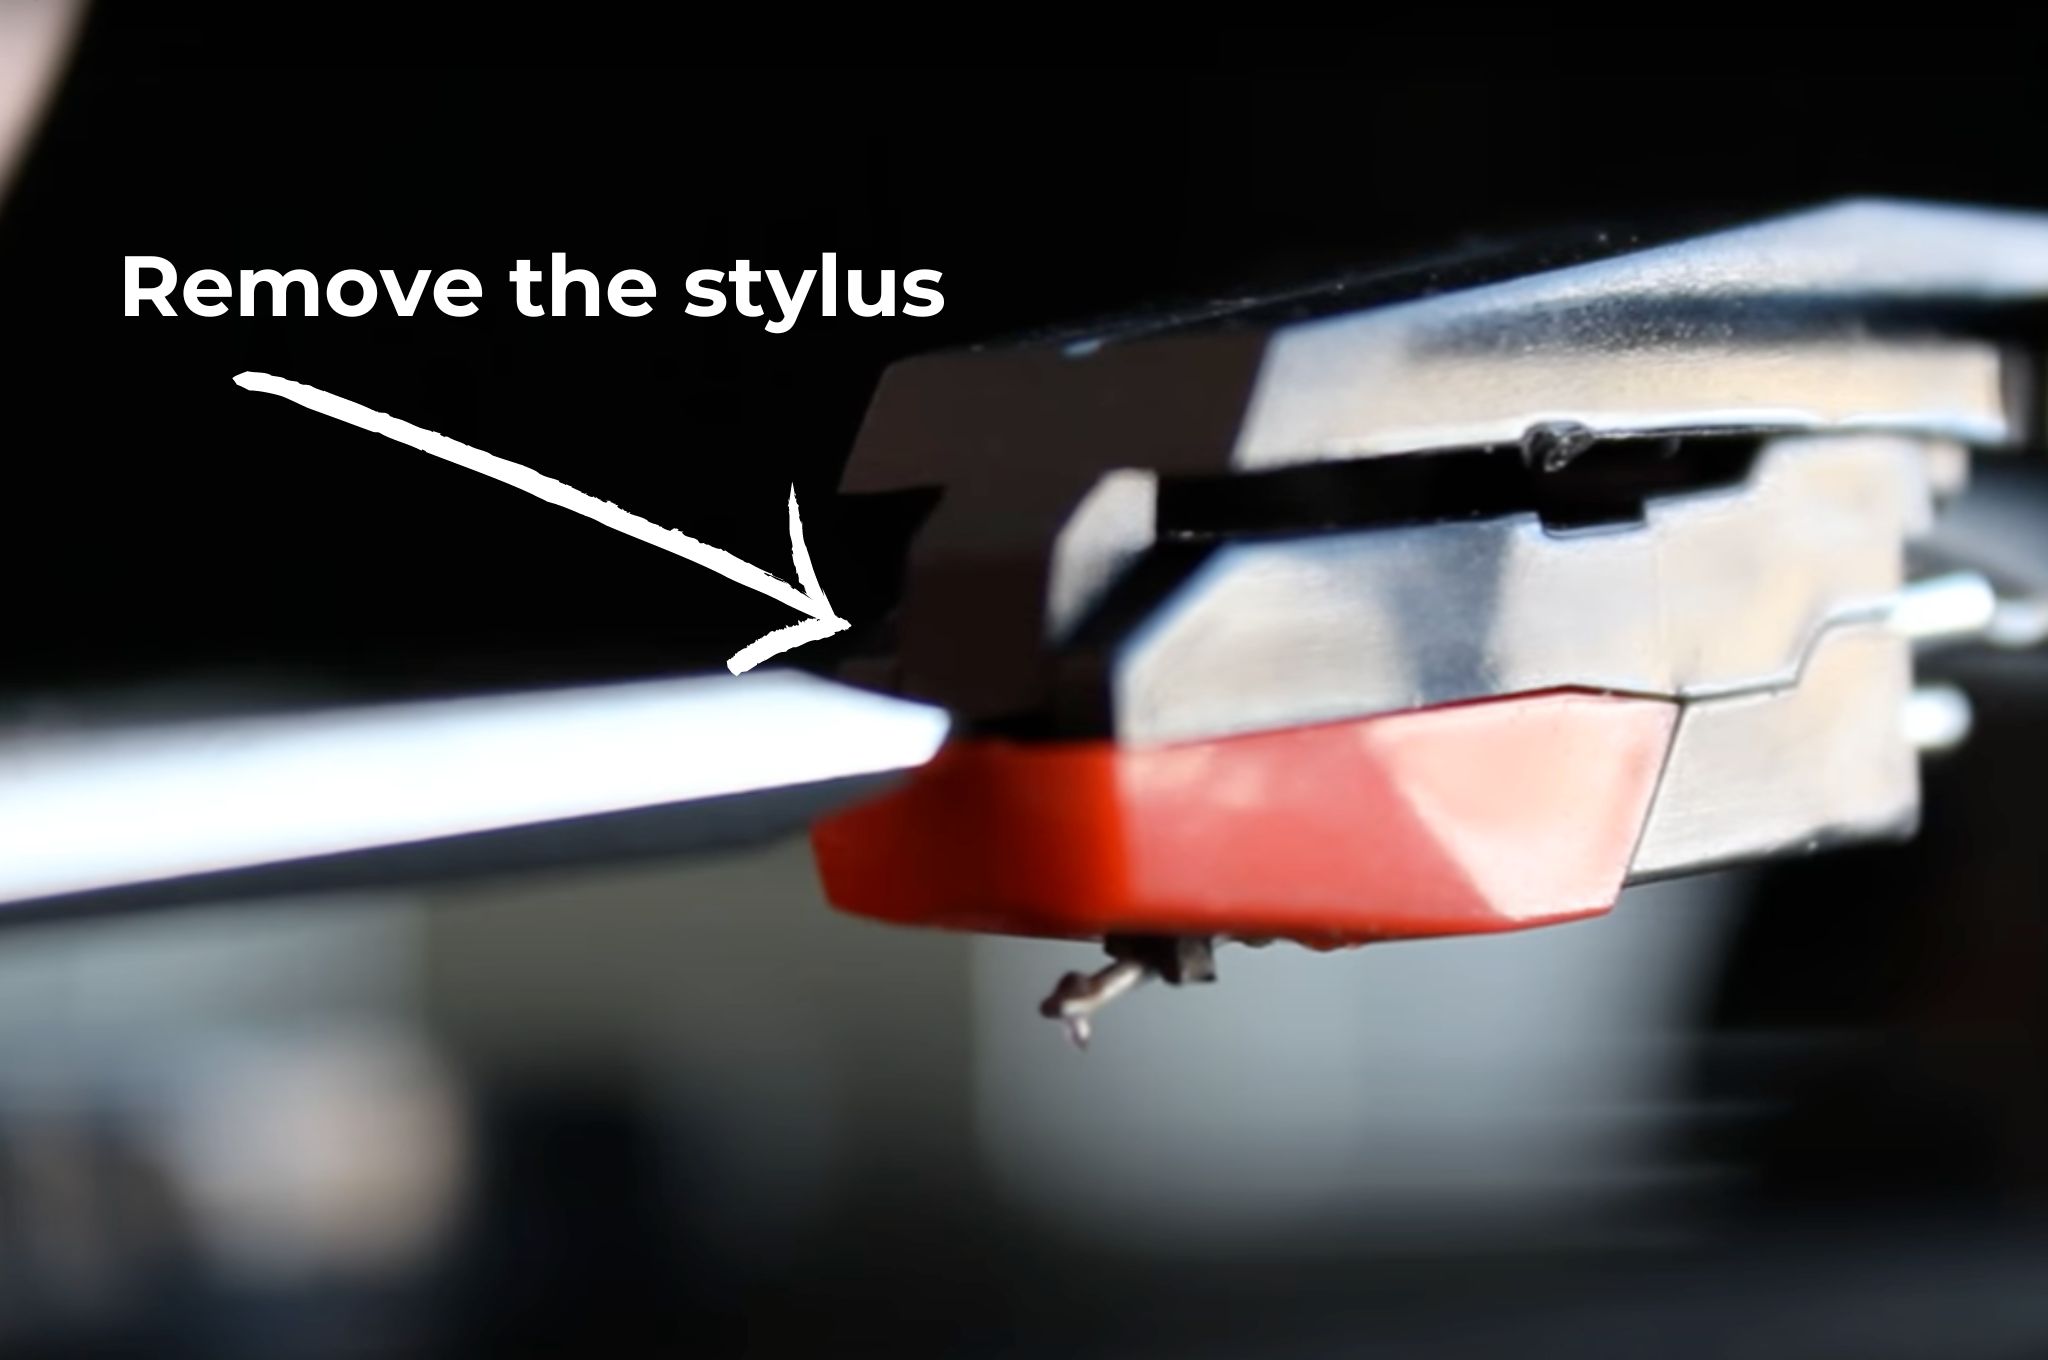
The first step in the replacement process is to remove the old needle.
To do this, take your small flat-head screwdriver and insert it between the area where the stylus guard meets the headshell. Gently pull the two pieces apart until the stylus becomes unattached from the front.
You should now be able to pull the stylus off of the headshell.
Step 2: Examine the new needle
Before attaching the new needle, give it a quick visual inspection. Make sure the tip of the stylus is in pristine condition and there are no bends in the cantilever.
If everything looks good, move on to the next step.
Step 3: Attach the new needle
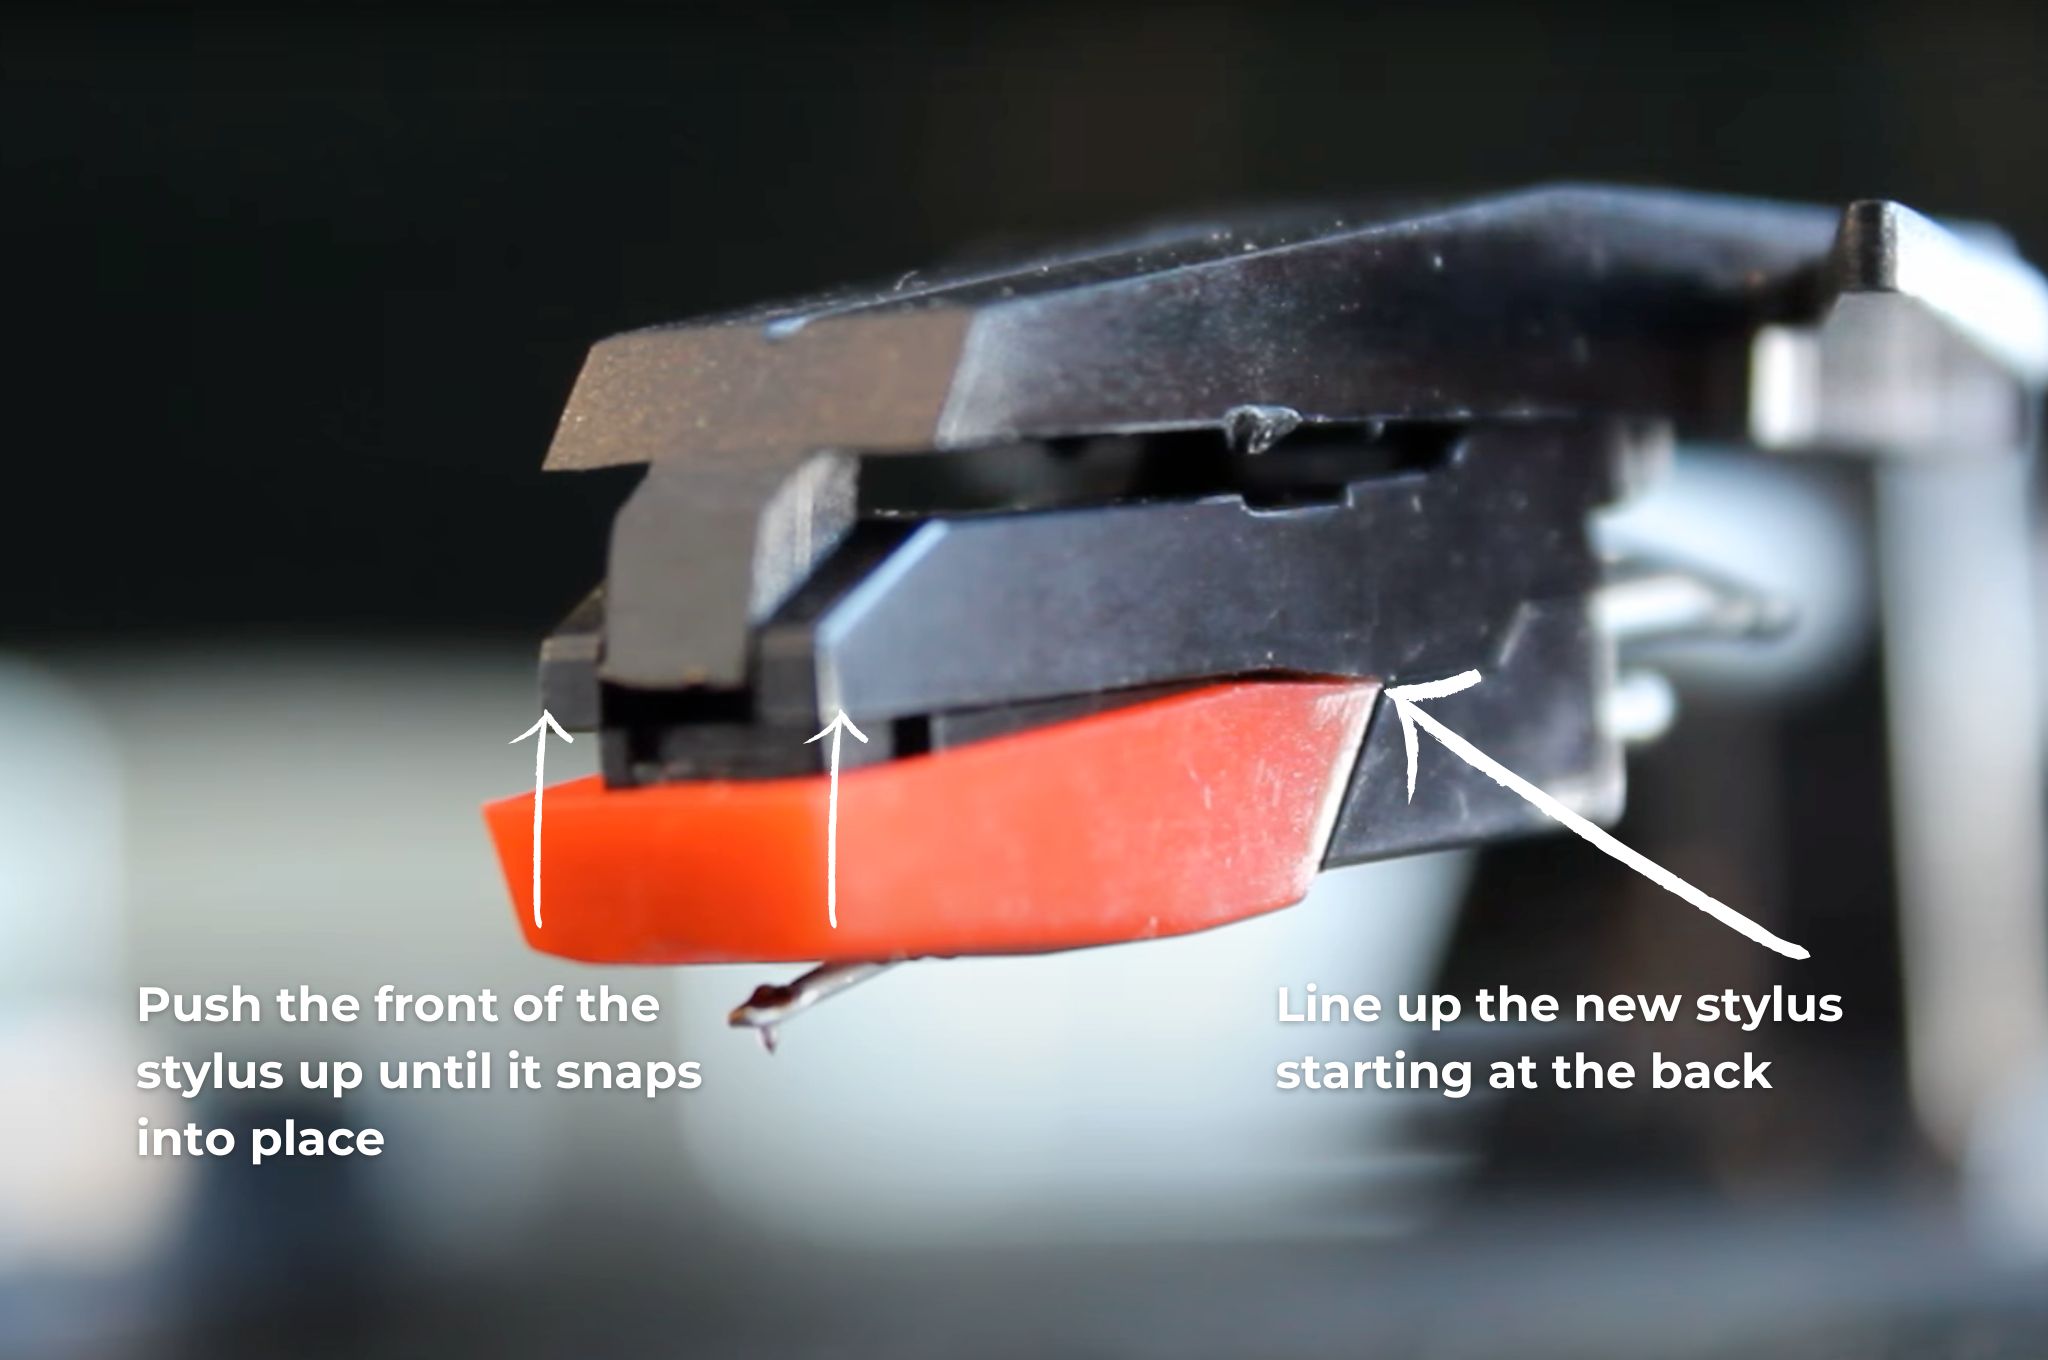
Attaching the new needle is the reverse process of removing it.
First, ensure the back of the new cartridge assembly makes direct contact with the rear of the headshell. Then, move the front of the assembly up until the entire cartridge snaps into place with the front of the headshell.
Congrats, you’ve now replaced your record player needle!
When is it time for a replacement stylus?
There are a few obvious signs that you need to replace a needle on a record player. Here are the main ones we see:
- Poor sound quality: If your records begin to sound dull or distorted, it’s probably time for a new stylus.
- Visible damage to the needle: If the needle or cantilever of the stylus looks visibly worn or damaged we recommend a replacement. Damaged needles can ruin the grooves of a vinyl record and cause issues with tracking force.
- You don’t know when it was last replaced: Especially important for a second-hand record player, if you don’t know when the stylus was last replaced, it’s a good idea to replace it considering how cheap they are.
- After 500 hours of playback: According to Victrola, a larger record player manufacturer, the average lifespan for a new needle is 500 hours (source). After that, it’s a good idea to replace the stylus to prevent excess record wear.
Now it’s time to start spinning!
With everything complete, it’s time to start playing your favorite vinyl records again. We hope you found this guide simple, quick, and helpful.
Happy spinning!

Lead Editor / Owner
After beginning his career in the video and audio recording industry, Andrew started HiFi Hippo to share his knowledge and passion for vinyl and vintage audio with other readers.