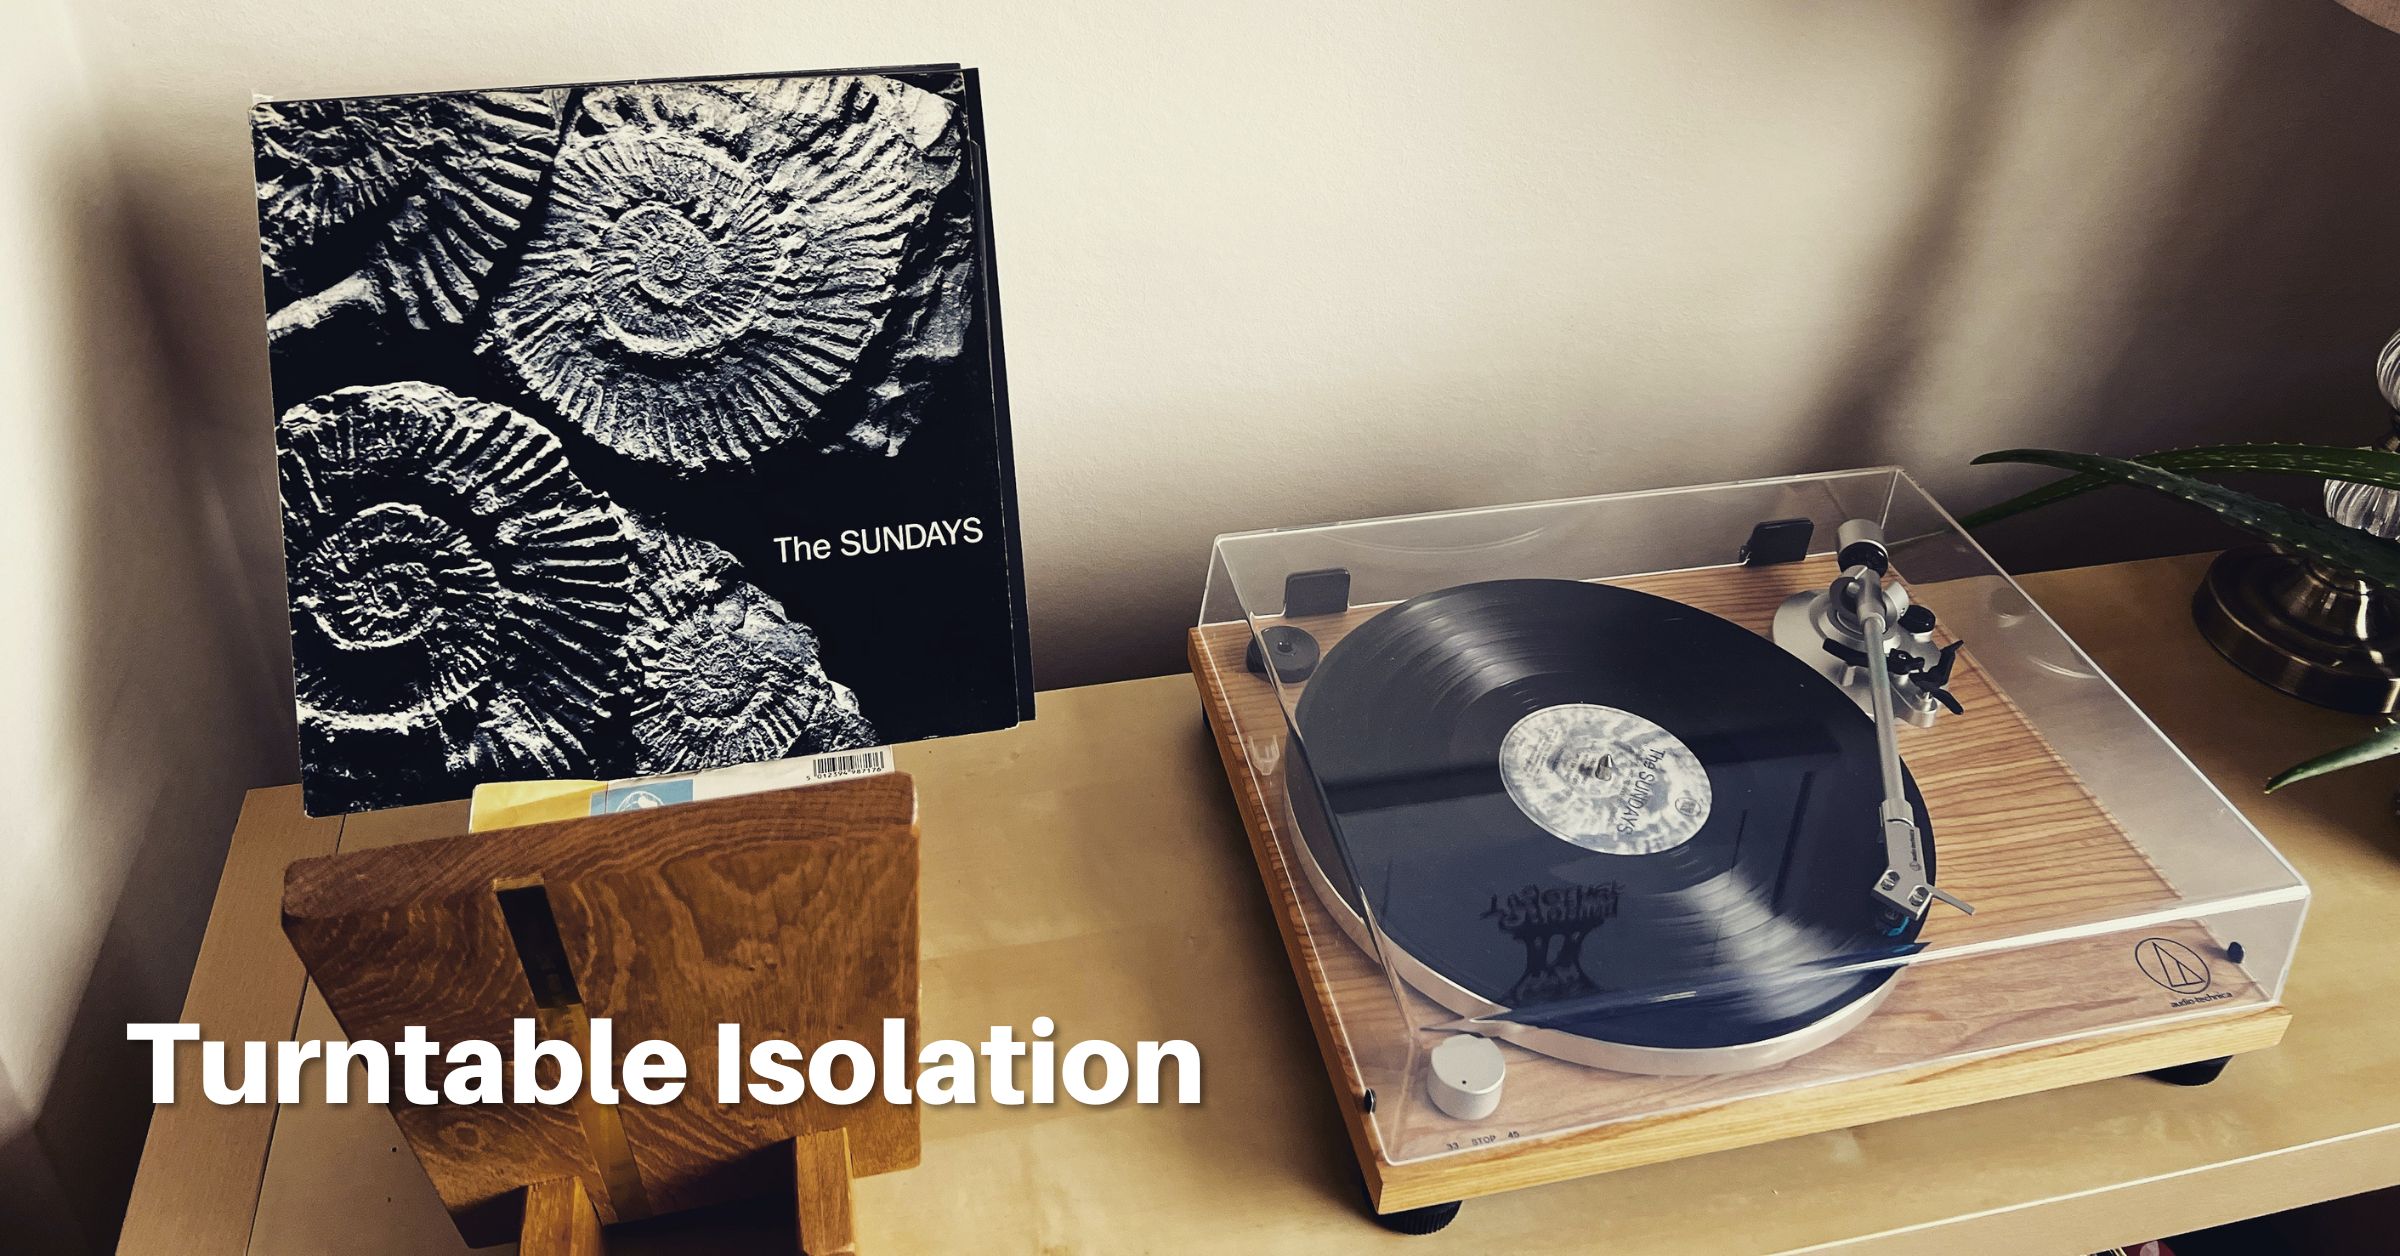
Turntable isolation is essential for not only enjoying your vinyl to its maximum potential but also ensuring your expensive equipment is protected. Improper isolation will be noticed by notice listeners all the way up to vinyl enthusiasts – that’s how much it can impact the listening experience.
In this article, we’ll cover the ins and outs of isolation for turntables.
What is turntable isolation?
Turntable isolation is the process of reducing excess vibrations from making their way to a turntable’s tonearm and needle during vinyl playback. Proper isolation can be achieved by reducing the cause of vibrations while also incorporating weight, padding, and specialized platforms to further isolate the turntable.
Isolation, when done properly, will improve the overall sound quality of the audio while also prolonging the life of a turntable cartridge, needle, and even the vinyl record itself.
Why is turntable isolation so important?
Turntable vibration can drastically reduce sound quality, negatively impacts the listening experience, and can damage expensive components of a turntable such as the stylus, tonearm, as well as the vinyl record itself. Proper isolation ensures that the turntable is performing to the best of its ability.
Think about it – if you invested hundreds or thousands of dollars into a turntable, you’d want to be sure it was at peak performance.
Signs of turntable isolation issues
Some isolation issues can be obvious while others may not. Regardless, if you’re going to reduce vibrations making their way up to your turntable, it’s important you know what these issues sound like.
Skipping associated with movement
A turnable skipping when you move or walk around the room is a very common isolation issue. This means that the vibrations made by your movement are being transferred through the floor and up to your turntable.
Distortion
Distortion in a turntable can be caused by a few different things, one of which is vibration. Vibrations can be small enough to not cause the record needle to skip but still affect the sound quality. Ideally, the only vibrations the needle should be picking up are from the record itself, not outside factors.
Feedback
One less common issue related to improper turntable and speaker isolation is acoustic feedback. This occurs when your speakers are close to your turntable and the vibrations from the speakers are picked up by your turntable stylus.
What causes turntable vibrations?
Vibrations in turntables occur when back-and-forth motion is introduced to an elastic object. This could look like a person stepping close to the cabinet a turntable is sitting on, causing a vibration in the floor to move up through the furniture, through the turntable and into the needle.
Of course, vibrations can be caused by a variety of things. Let’s look at a few common causes:
Walking close to the turntable
Walking nearby a turntable can cause vibration issues, especially if you have hardwood floors. There are a few ways to reduce turntable vibration related to footsteps.
- Move the turntable: If your turntable is set up in a heavily trafficked area of the room, it might be a good idea to consider moving it out of the way so it’s less likely to pick up on vibrations relating to footsteps.
- Incorporate a rug underneath furniture: If your turntable is on a piece of furniture like a cabinet or shelf, sometimes placing a simple rug underneath the furniture is enough to reduce walking vibrations.
- Incorporate a turntable isolation system: We’ll touch on this more later in this article, but there are feet and platforms available that can greatly reduce vibration issues.
Doors opening and closing
The opening and closing of doors can sometimes cause vibrations to travel through the floor and walls. Here are a few ways to lessen these vibrations from affecting your turntable:
- Move the turntable away from doorways: Obviously, if your turntable is close to a doorway, the first logical step would be to move it away from that area. The distance can certainly help reduce vibration.
- Move the turntable further away from the wall: Doors can cause the walls to vibrate as well. If your turntable is touching or near a wall, we recommend pulling it away at least 6 inches to a foot.
- Vibration isolation: We understand that not every vibration can be mitigated by just adjusting placement. Luckily, there are products available that can add further isolation to your turntable. We’ll discuss these further in the article.
Speakers
Improperly isolated speakers and subwoofers can cause the bass tones to travel through the floor and walls and vibrate the turntable. Here are some ways to reduce vibration from speakers:
- Ensure speakers are off the floor and properly mounted: Unless you have floor-standing speakers, speakers should never be placed directly on the ground or on the same surface your turntable sits on. Invest in a solid pair of speaker stands to create sound isolation.
- Move your speakers further away from your turntable: Sometimes, fixing vibration issues related to speakers is as easy as moving them further away from the turntable itself. Additionally, acoustic feedback can occur if the vibrations from your speakers are picked up by your stylus.
- Turn down the bass: Bass is the lowest frequency and is what causes the room and the objects within to vibrate. While we all love a nice, low bass note, sometimes the higher volumes can be too much and cause issues with turntable vibration. If your speakers are on stands and properly isolated, you might want to consider turning the bass down if you still have vibration issues.
How to isolate a turntable
Now that we’ve covered what causes turntable vibration and why it matters, let’s start fixing it. There are a variety of methods and products available that help with sound isolation. We’ll start simple and then get into some of the audiophile solutions to really dial in your setup.
Proper turntable placement
Firstly, it’s important your turntable is placed in an area of the room where it’s subject to the least amount of vibration. A turntable should not be placed near a major walkway or door.
Additionally, speakers should also be placed on separate stands on not the same piece of furniture as the turntable. Speakers should be at least 3-6 feet away from the turntable and another foot away from the wall to reduce vibrations from the sound as well as feedback. For more information on speaker placement, check out our full guide.
Lastly, your turntable should be on a sturdy piece of furniture that sits on top of a rug (especially important if you have hardwood floors). Furniture with fewer nails and screws is optimal for vibration isolation.
Isolation feet
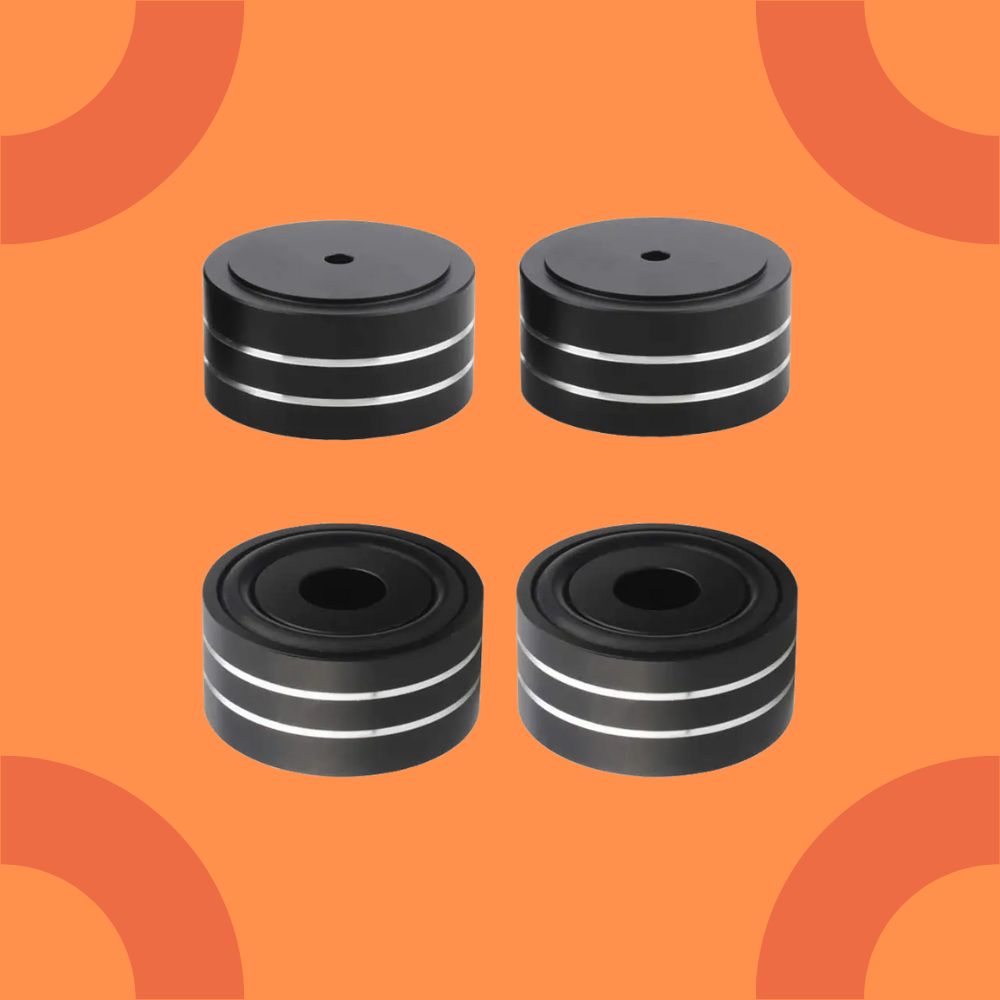
Isolation feet act as shock absorbers for vibrations. These are typically spiked, springs or rubber discs that can be placed under your turntable itself or under the furniture it sits on.
There are dedicated turntable isolation feet available that are meant to sit underneath the turntable. The turntable isolation feet are typically spring-loaded which allows them to absorb much more vibration compared to a simple rubber foot.
Rubber isolation feet are great for placing under the furniture itself. This adds another level of vibration absorption between the floors and the furniture.
If you’re having a minor vibration issue, we’d recommend purchasing both rubber and turntable isolation feet to use in tandem. This combination of the isolation of the floor and the turntable itself should be enough to offset most minor vibrations.
Turntable isolation platform
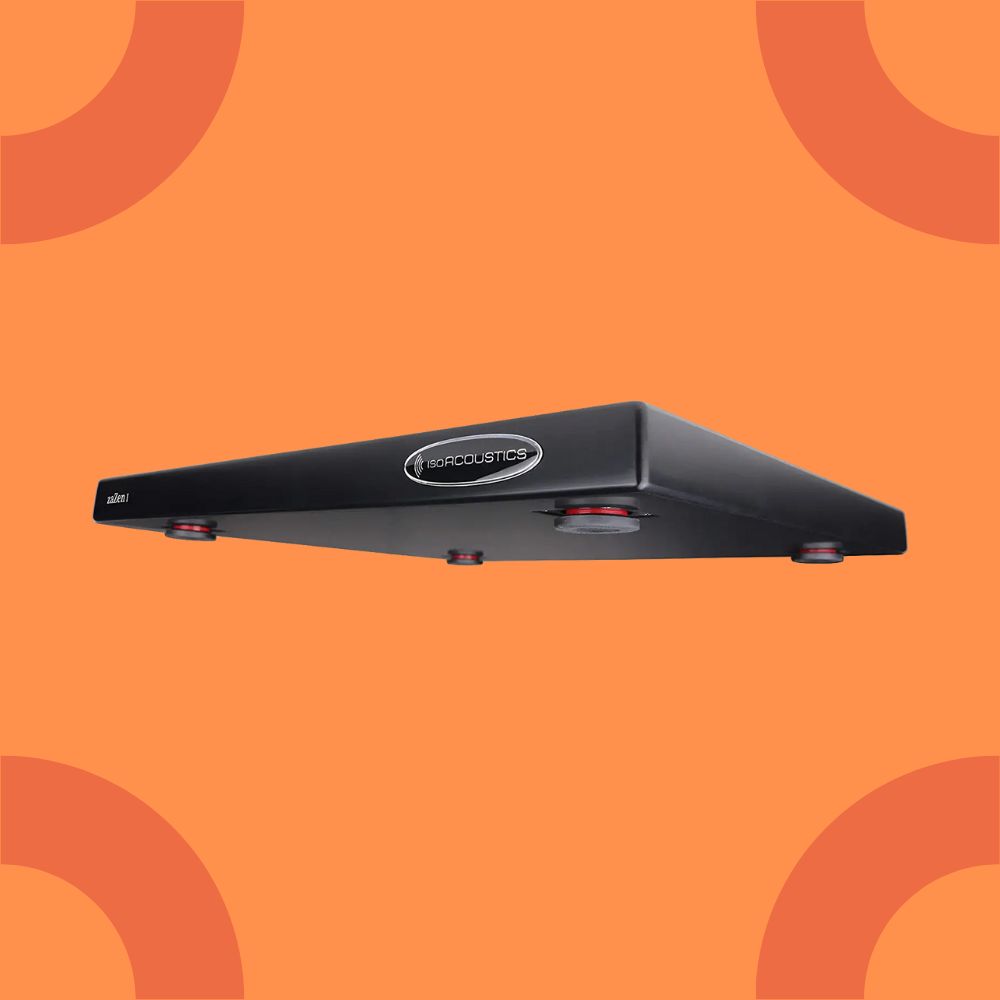
A turntable isolation platform is a platform designed to have a turntable or amp placed on top and absorb a great deal of vibration. A turntable platform will typically have a heavy, flat surface for the turntable to sit on. Underneath, isolation feet are pre-attached to handle the initial vibrations.
A turntable platform is commonly used directly with the turntable but can also be used with the furniture instead. If you have a smaller record player stand, sometimes it’s best to place the platform on the ground and the furniture on top.
Wall-mounted shelves
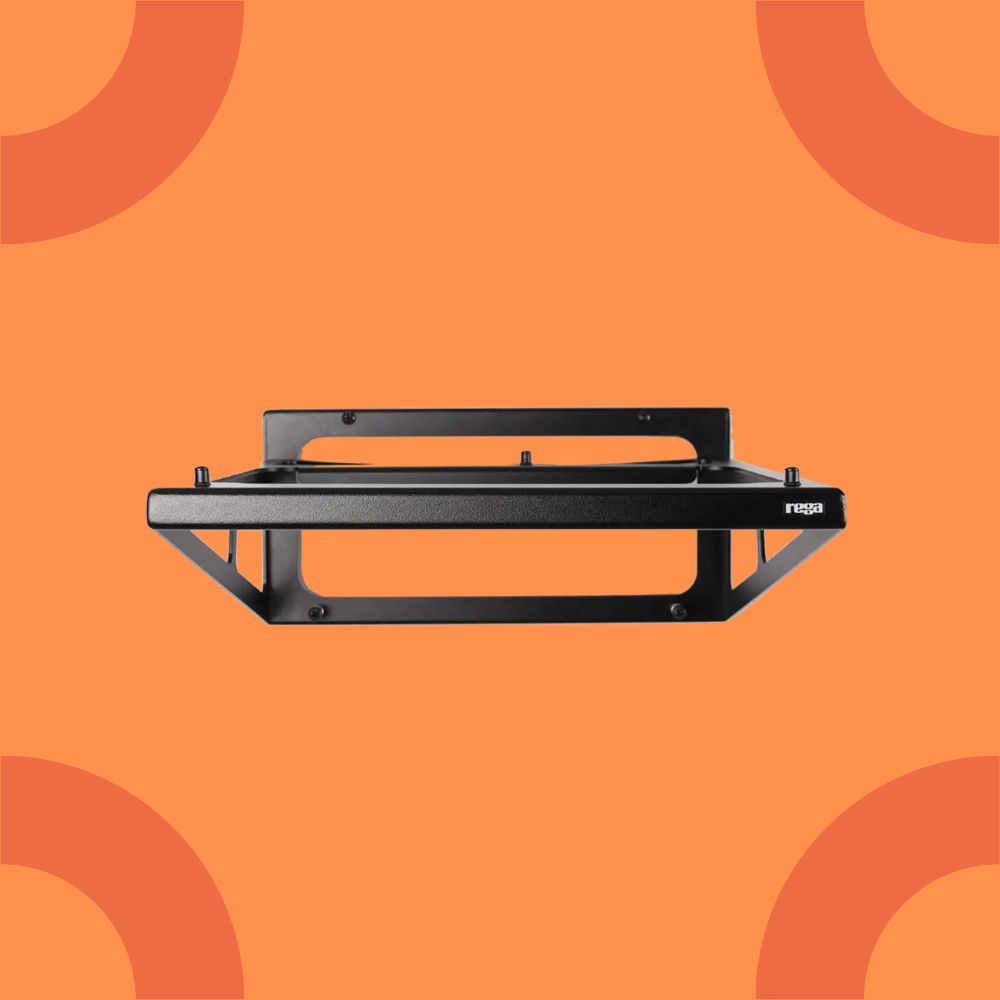
The best way to incorporate vibration isolation into your turntable setup is through the use of wall-mounted shelves. Walls are much better at negating vibration than the floors simply because one, no one is walking on the walls, and two, they typically hold more weight.
Placing a turntable directly on wall-mounted shelves will almost always improve sound isolation and reduce the amount of vibration that makes its way to the needle.
DIY turntable isolation ideas
As with most things in life, there are DIY solutions that vinyl enthusiasts have created for vibration isolation. Here are a few:
DIY turntable platform
Instead of purchasing a dedicated turntable platform for isolation, you can make one with a cutting board and some isolation feet.
Here’s what you’ll need:
Hockey pucks
Some vinyl enthusiasts have said that hockey pucks work well as isolation feet and can save you a few dollars. Simply place the pucks underneath each foot of your turntable as you would with isolation feet.
Wrap-up
Vibration can ruin records, turntables, and your listening experience. If you’re experiencing excessive turntable vibration, it’s time to address it. Regardless of your budget, there are DIY to audiophile solutions available.
We hope you found this guide helpful. Thanks for reading!

Lead Editor / Owner
After beginning his career in the video and audio recording industry, Andrew started HiFi Hippo to share his knowledge and passion for vinyl and vintage audio with other readers.
