
Over time, a turntable’s dust cover will inevitably develop a bit of haze. This haze, while it doesn’t affect playback, does affect the visual look and appeal of your turntable. If you’re anything like me, you have a lot of pride in how your turntable looks, sounds, and functions. Since dust covers not only serve in protecting your records but also enhance the look of your turntable, it’s important that they look clean and sleek.
In this guide, I’ll show you how to polish turntable dust covers to remove scratches and haze using household items you likely already have or can easily purchase at your local convenience store. The whole process takes less than 20 minutes, let’s begin!
Tools and materials needed
- Mint toothpaste
- Microfiber cloth, rag, or paper towel
- Window cleaning solution (optional)
- Water
- Flat surface
Note: for deeper scratches, a separate restoration kit might be necessary. More on this later.
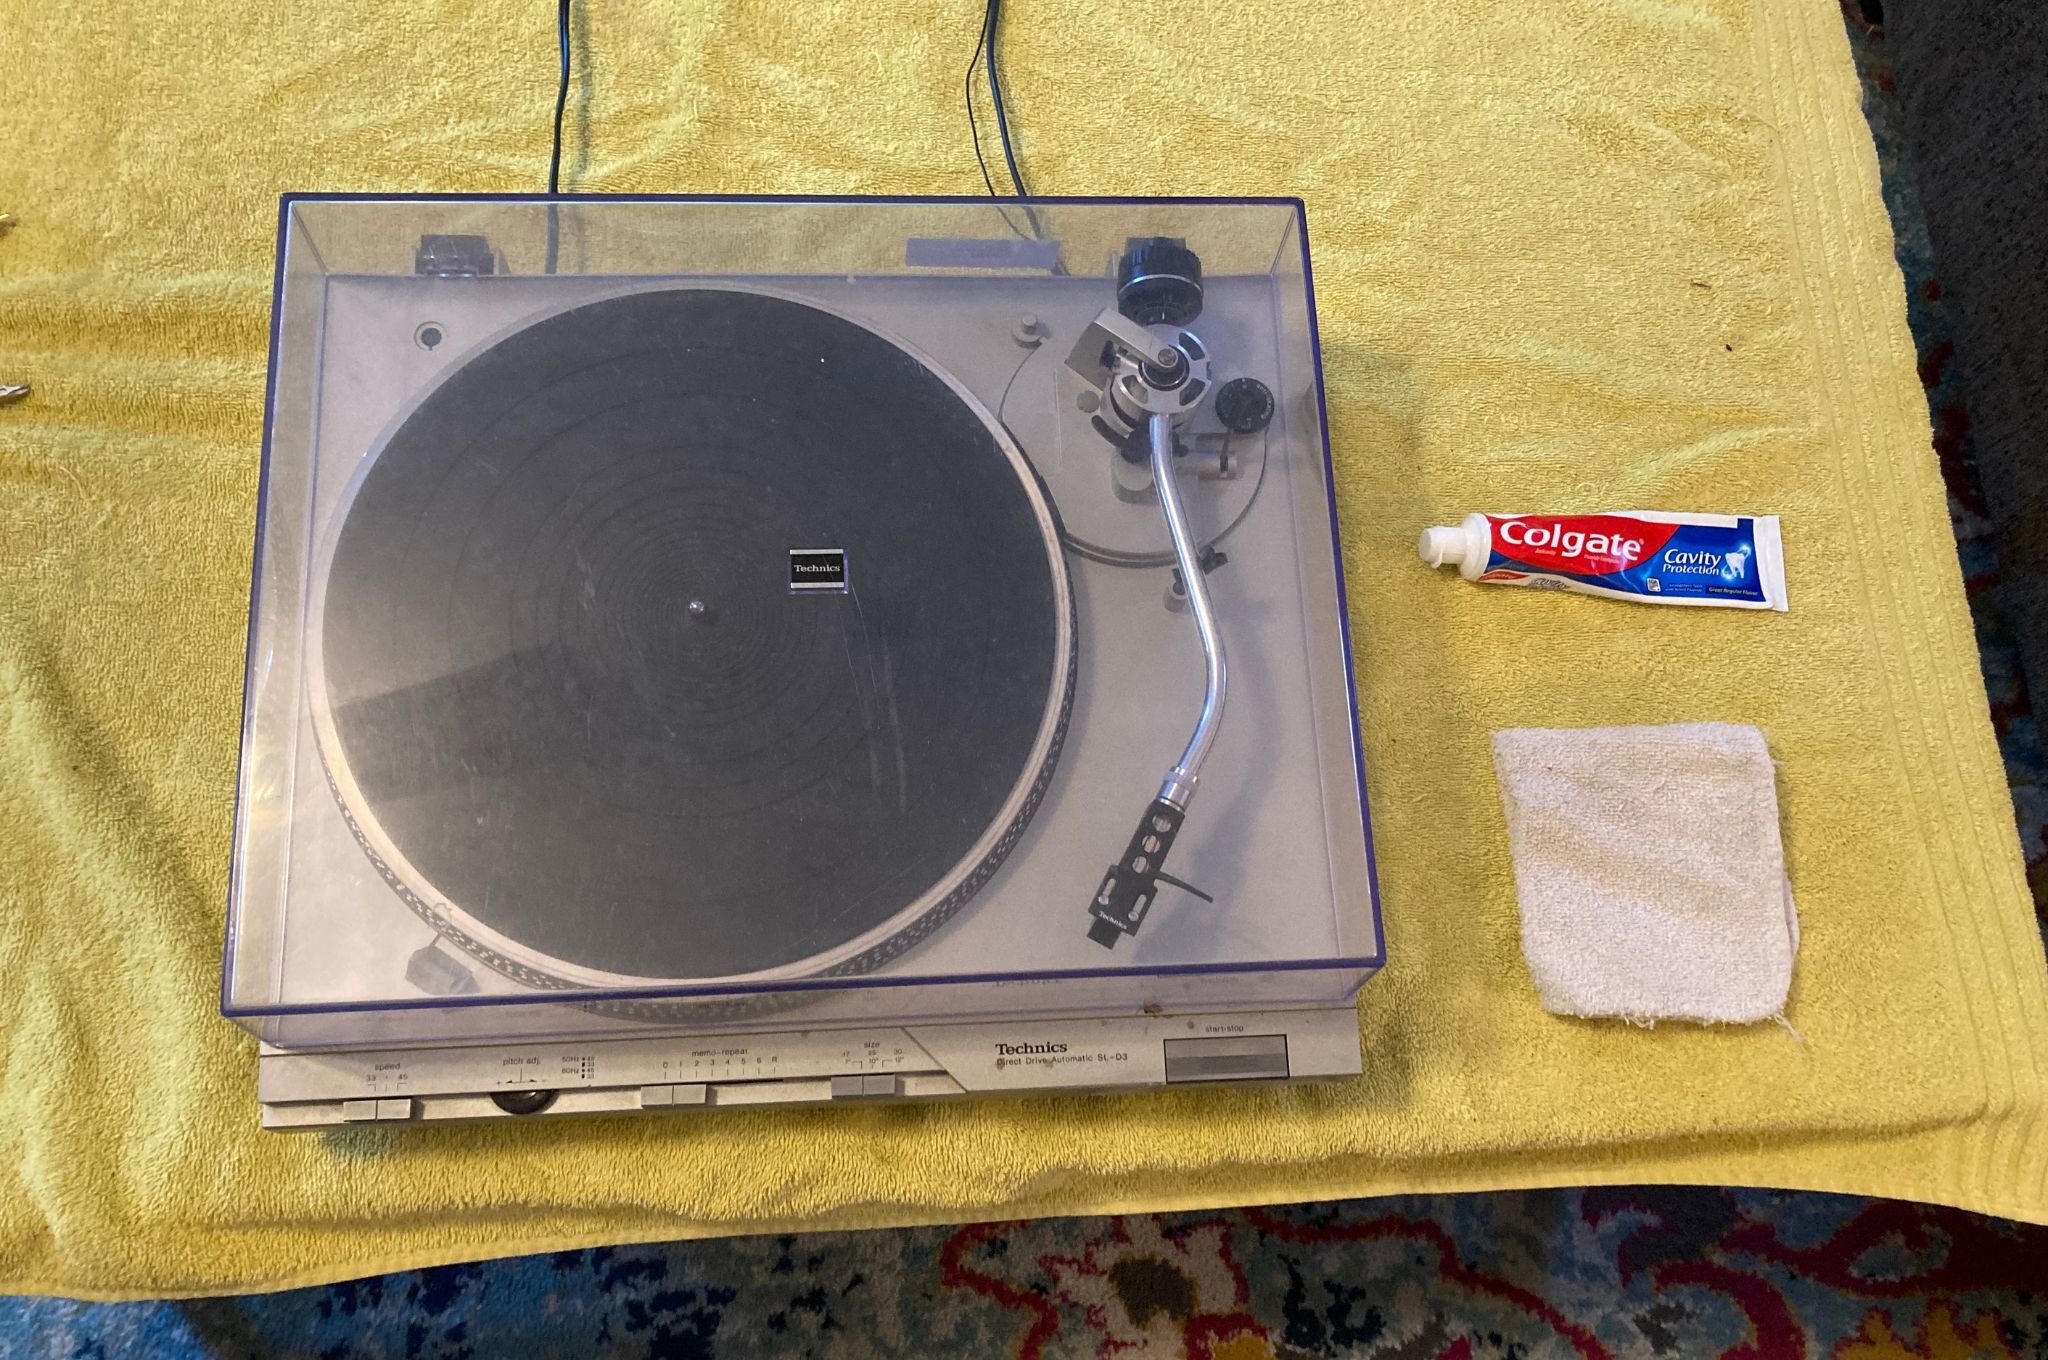
Step 1: Preparing the dust cover for polishing
Start by removing the dust cover from the turntable body. To do this on most turntables, simply open the lid and pull the cover away from the turntable. It should come right off.
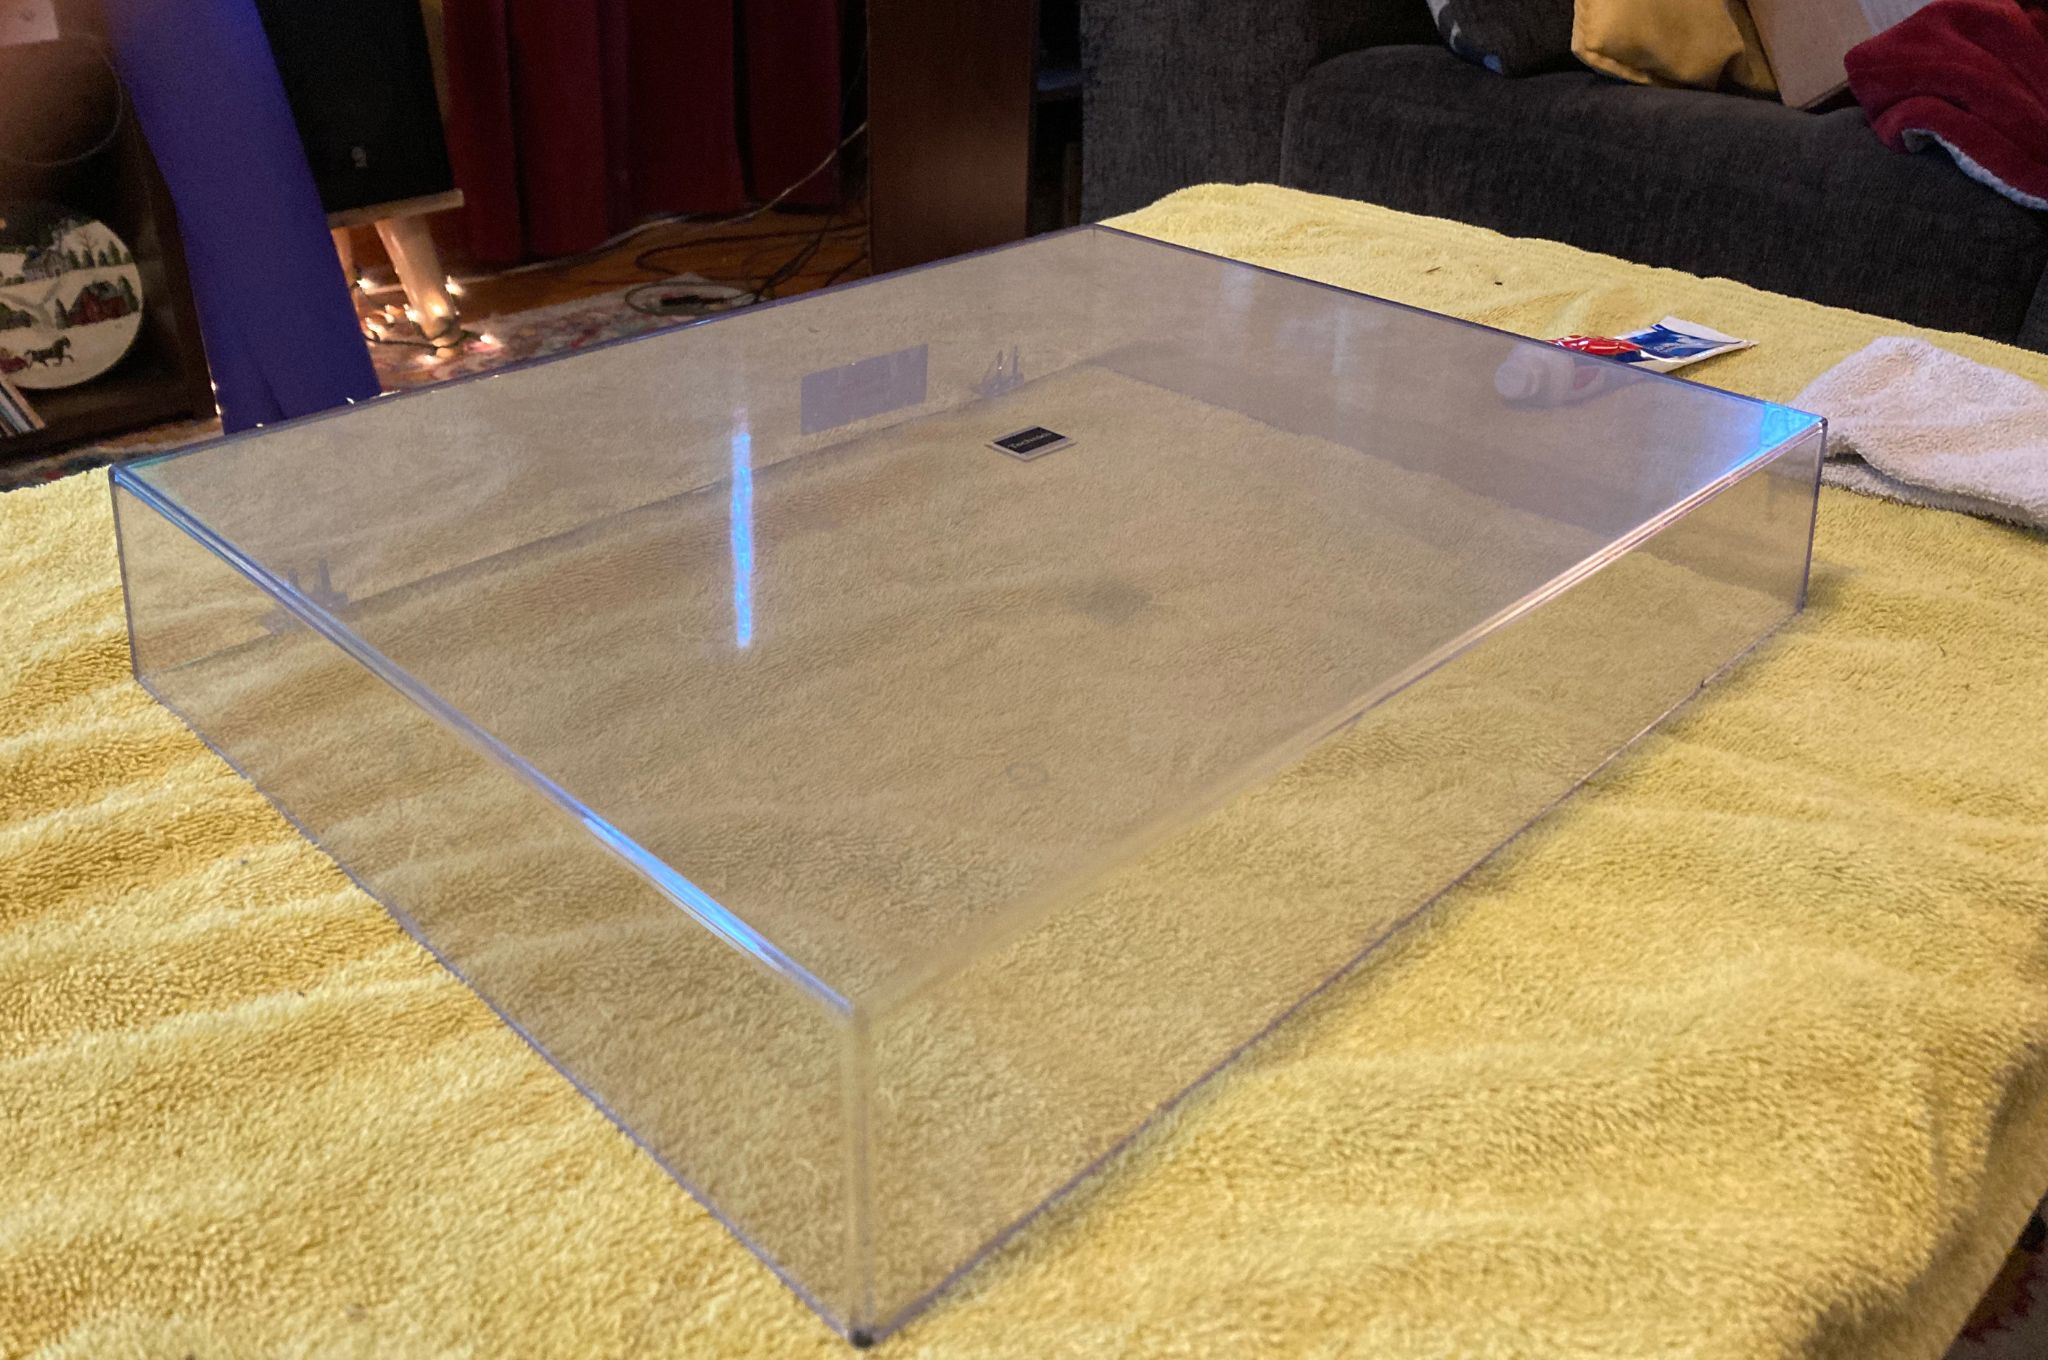
Set the dust cover on a table or other flat surface. I chose to place a towel down to prevent the cover from sliding around while I work on it, but it’s not necessary.
It’s a good idea to remove any dirt and debris from the surface of the dust cover. Simply wet a rag or paper towel with plain water and liquid dish detergent and wipe down the surfaces of the cover, both inside and out. Dry the cover with a towel or let it air dry completely for 5 minutes.
Step 2: Apply the polish – or toothpaste!
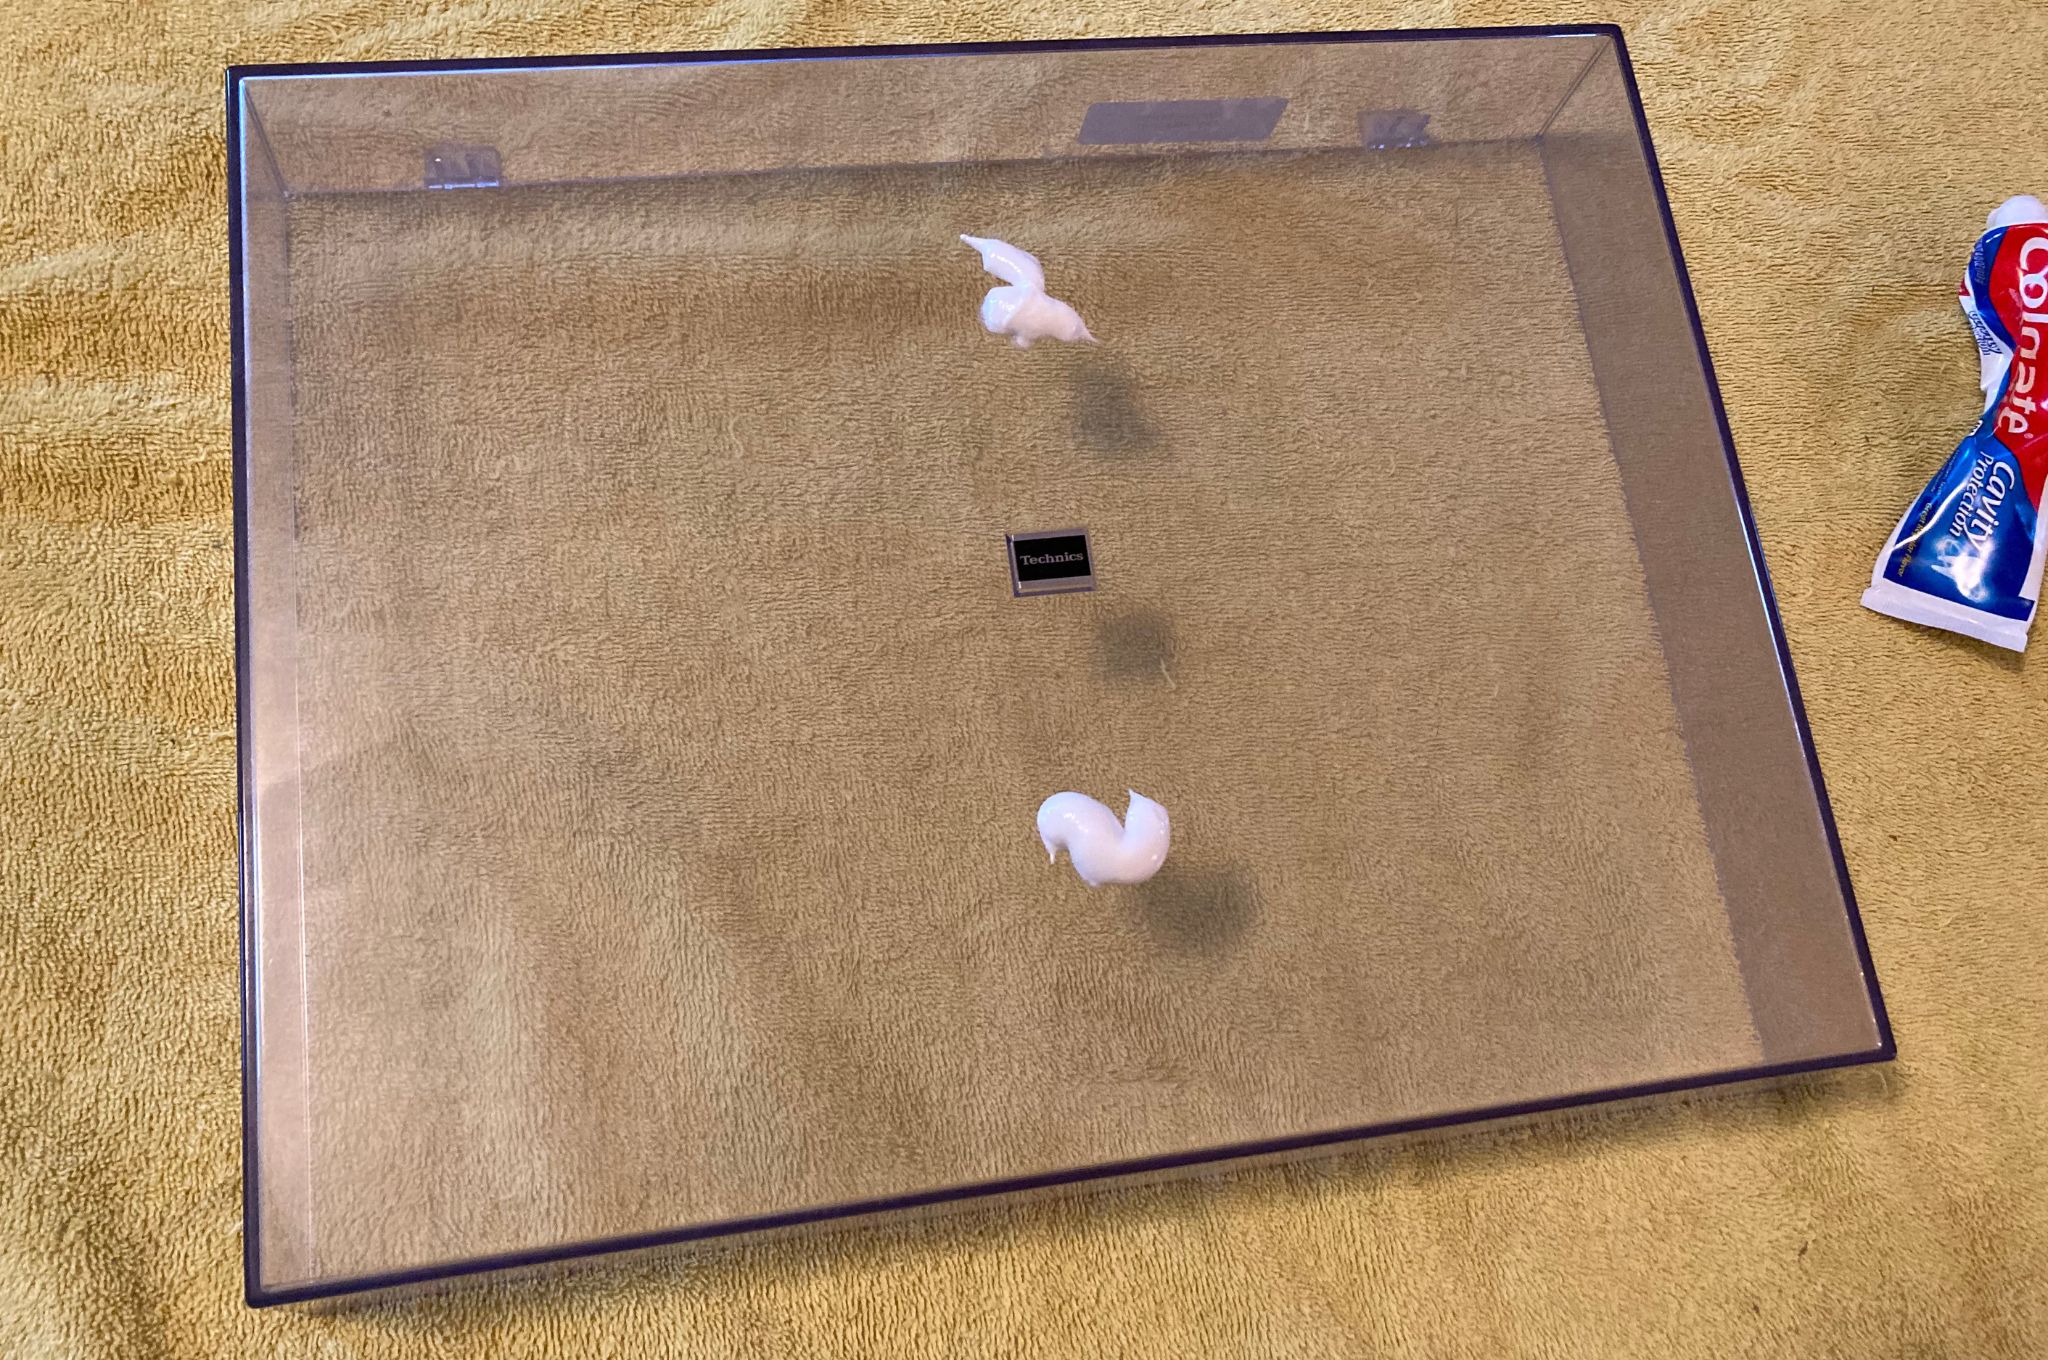
Apply a liberal amount of polish or toothpaste to the center and outer surfaces of the turntable’s dust cover. I ended up adding about double the toothpaste pictured above after snapping the photo.
Step 3: Rub it in
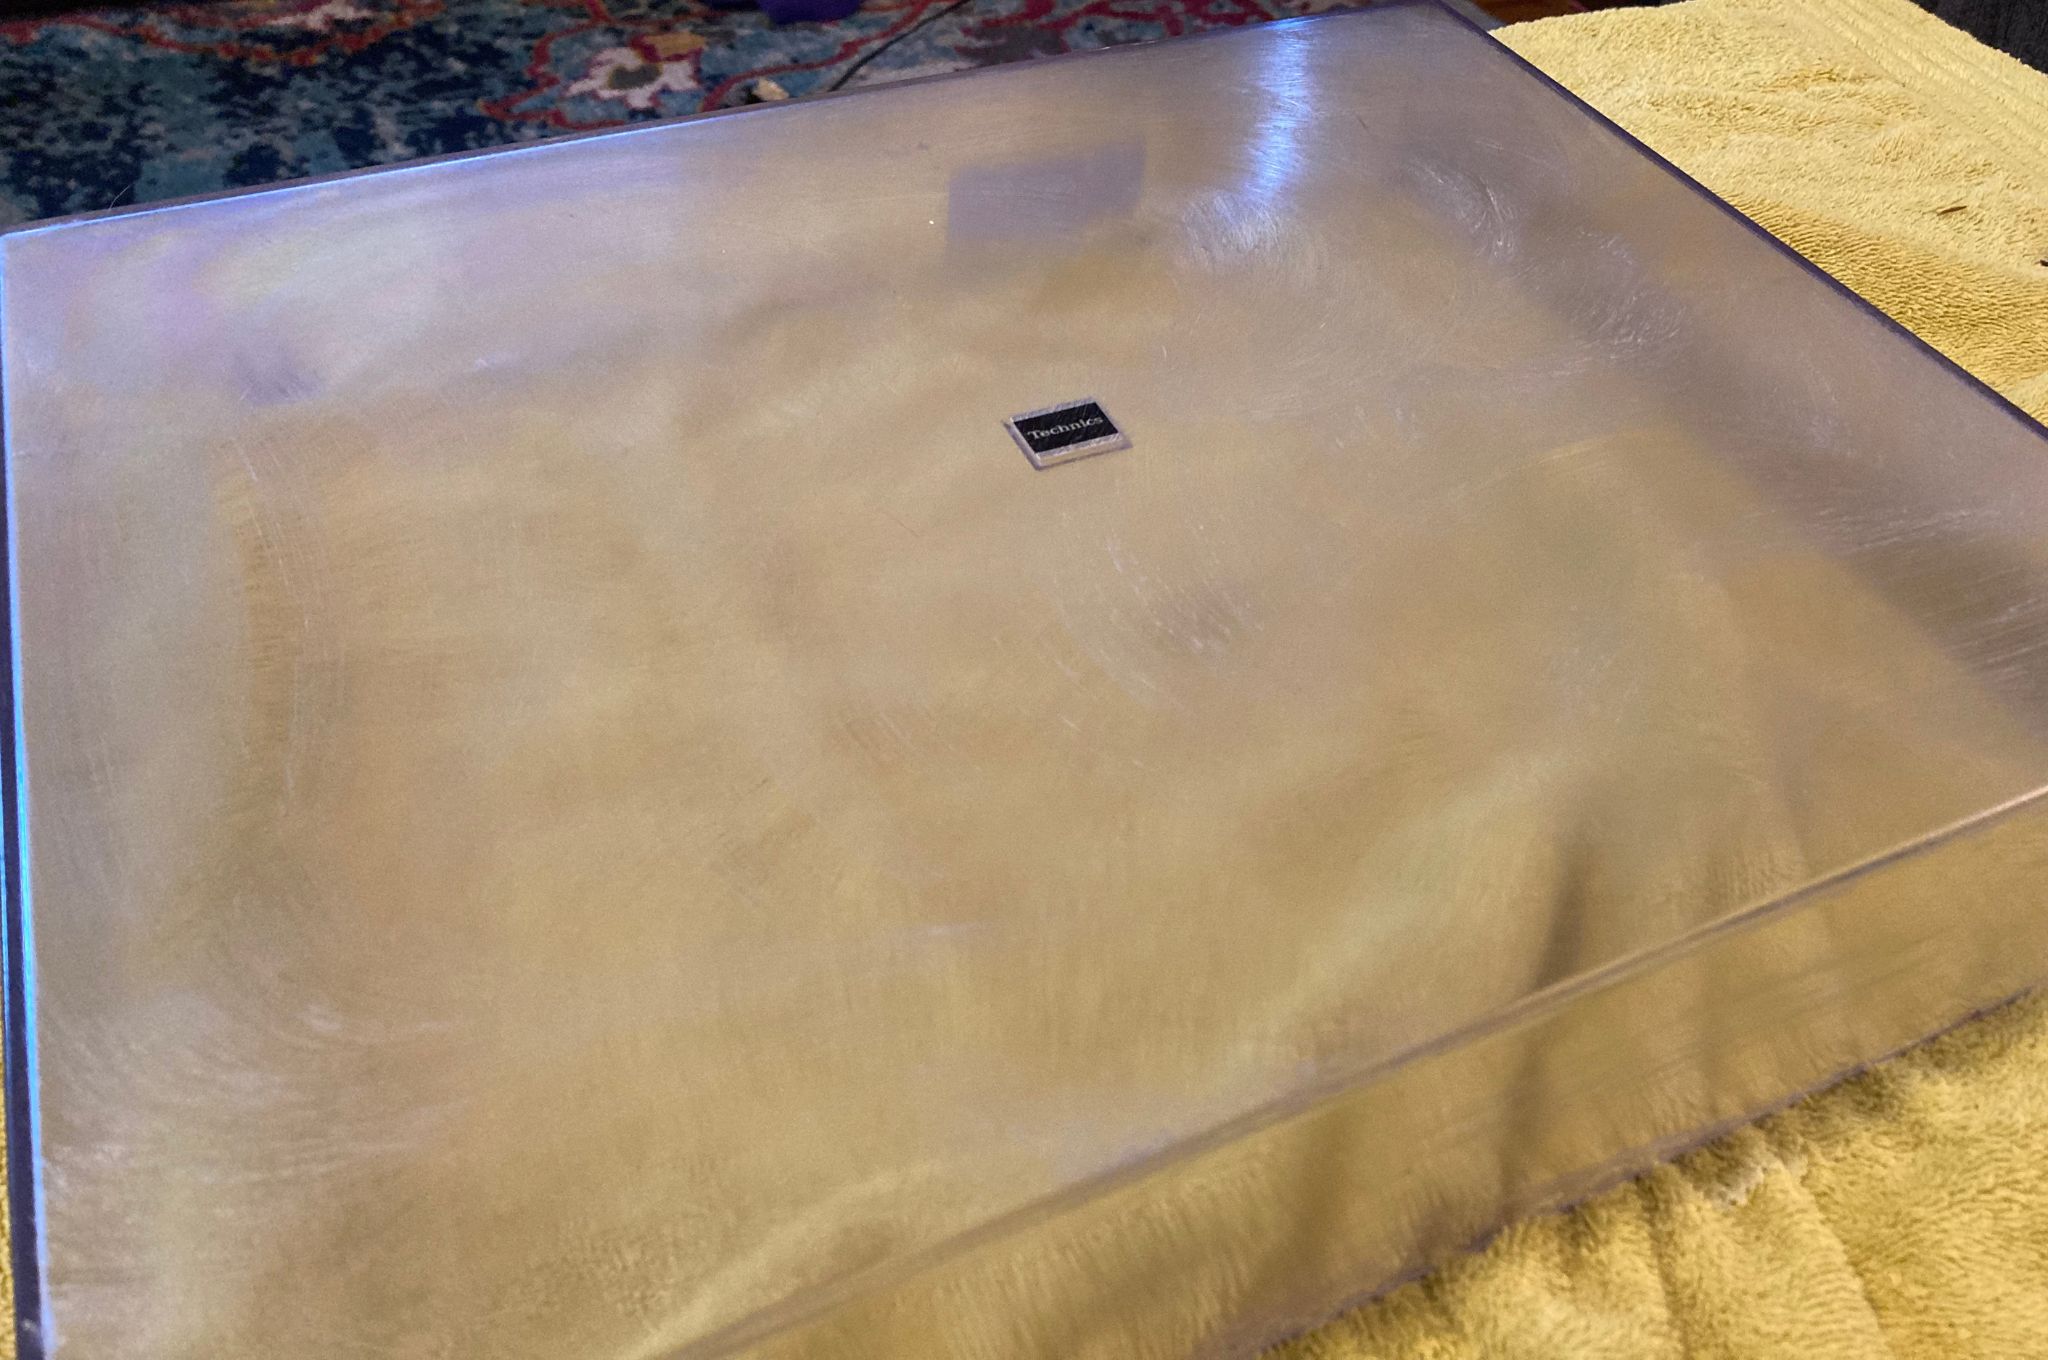
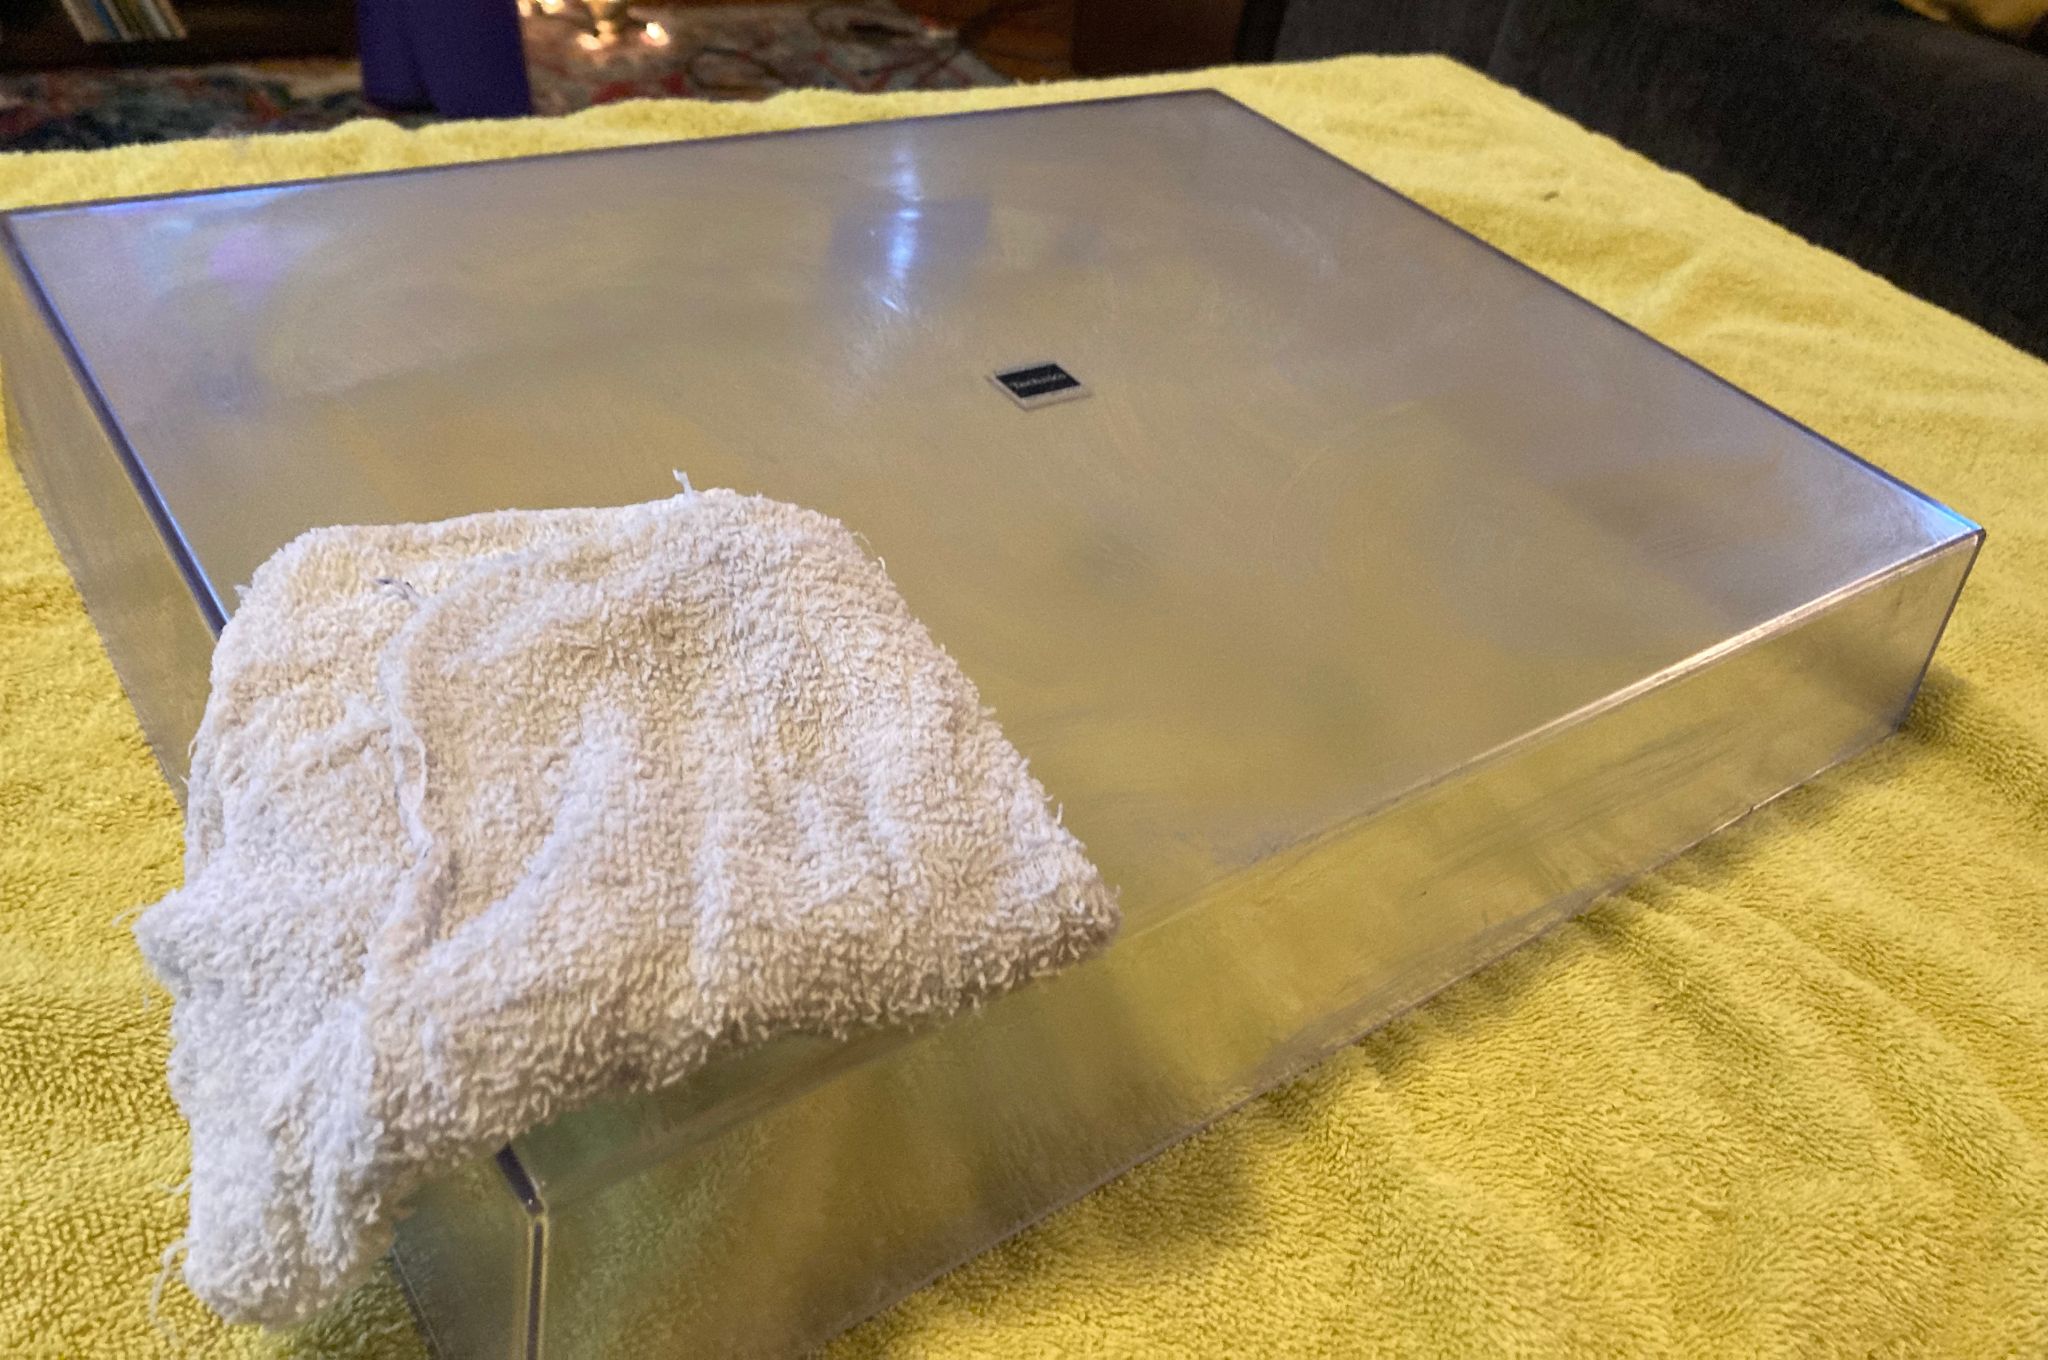
Using preferably a microfiber cloth, lightly rub the toothpaste or polish into the dust cover in a circular clockwise motion. Make sure you’re rubbing in a way to create overlapping circles so that the entire surface is covered and hazy like in the picture above.
After the dust cover is completely covered, let it sit for 10 minutes with the toothpaste or plastic polish applied before moving on to the next step.
Step 4: Restore discolorations and scratches
After completing the previous step and allowing the toothpaste to sit for 10 minutes, it’s time to start polishing. This step will take a little bit of elbow grease, but shouldn’t be too difficult.
Using your microfiber cloth, rub in a counter-clockwise circular pattern and work the toothpaste into the plastic. You should be using more pressure than you used to apply the toothpaste, but be careful not to apply so much that it might crack the cover.
Continue to work the toothpaste into the plastic and cloth. You’ll notice the haze slowly starting to disappear and the material becomes shiny.
Once the toothpaste haze is no longer visible, you can stop this process.
Step 5: Wipe down the dust cover
At this point, the dust cover is probably looking pretty good (and smelling minty fresh). However, it’s important that all the product is removed from the cover or else another hazy may form.
For this, wet a rag with warm water and completely wipe down the dust cover. Once fully wiped down, let the cover dry completely or use a towel to dry it immediately.
After the dust cover is dry, I like to spray the cover down with a window cleaning solution like Windex and wipe it down to remove any streaks.
Job complete!
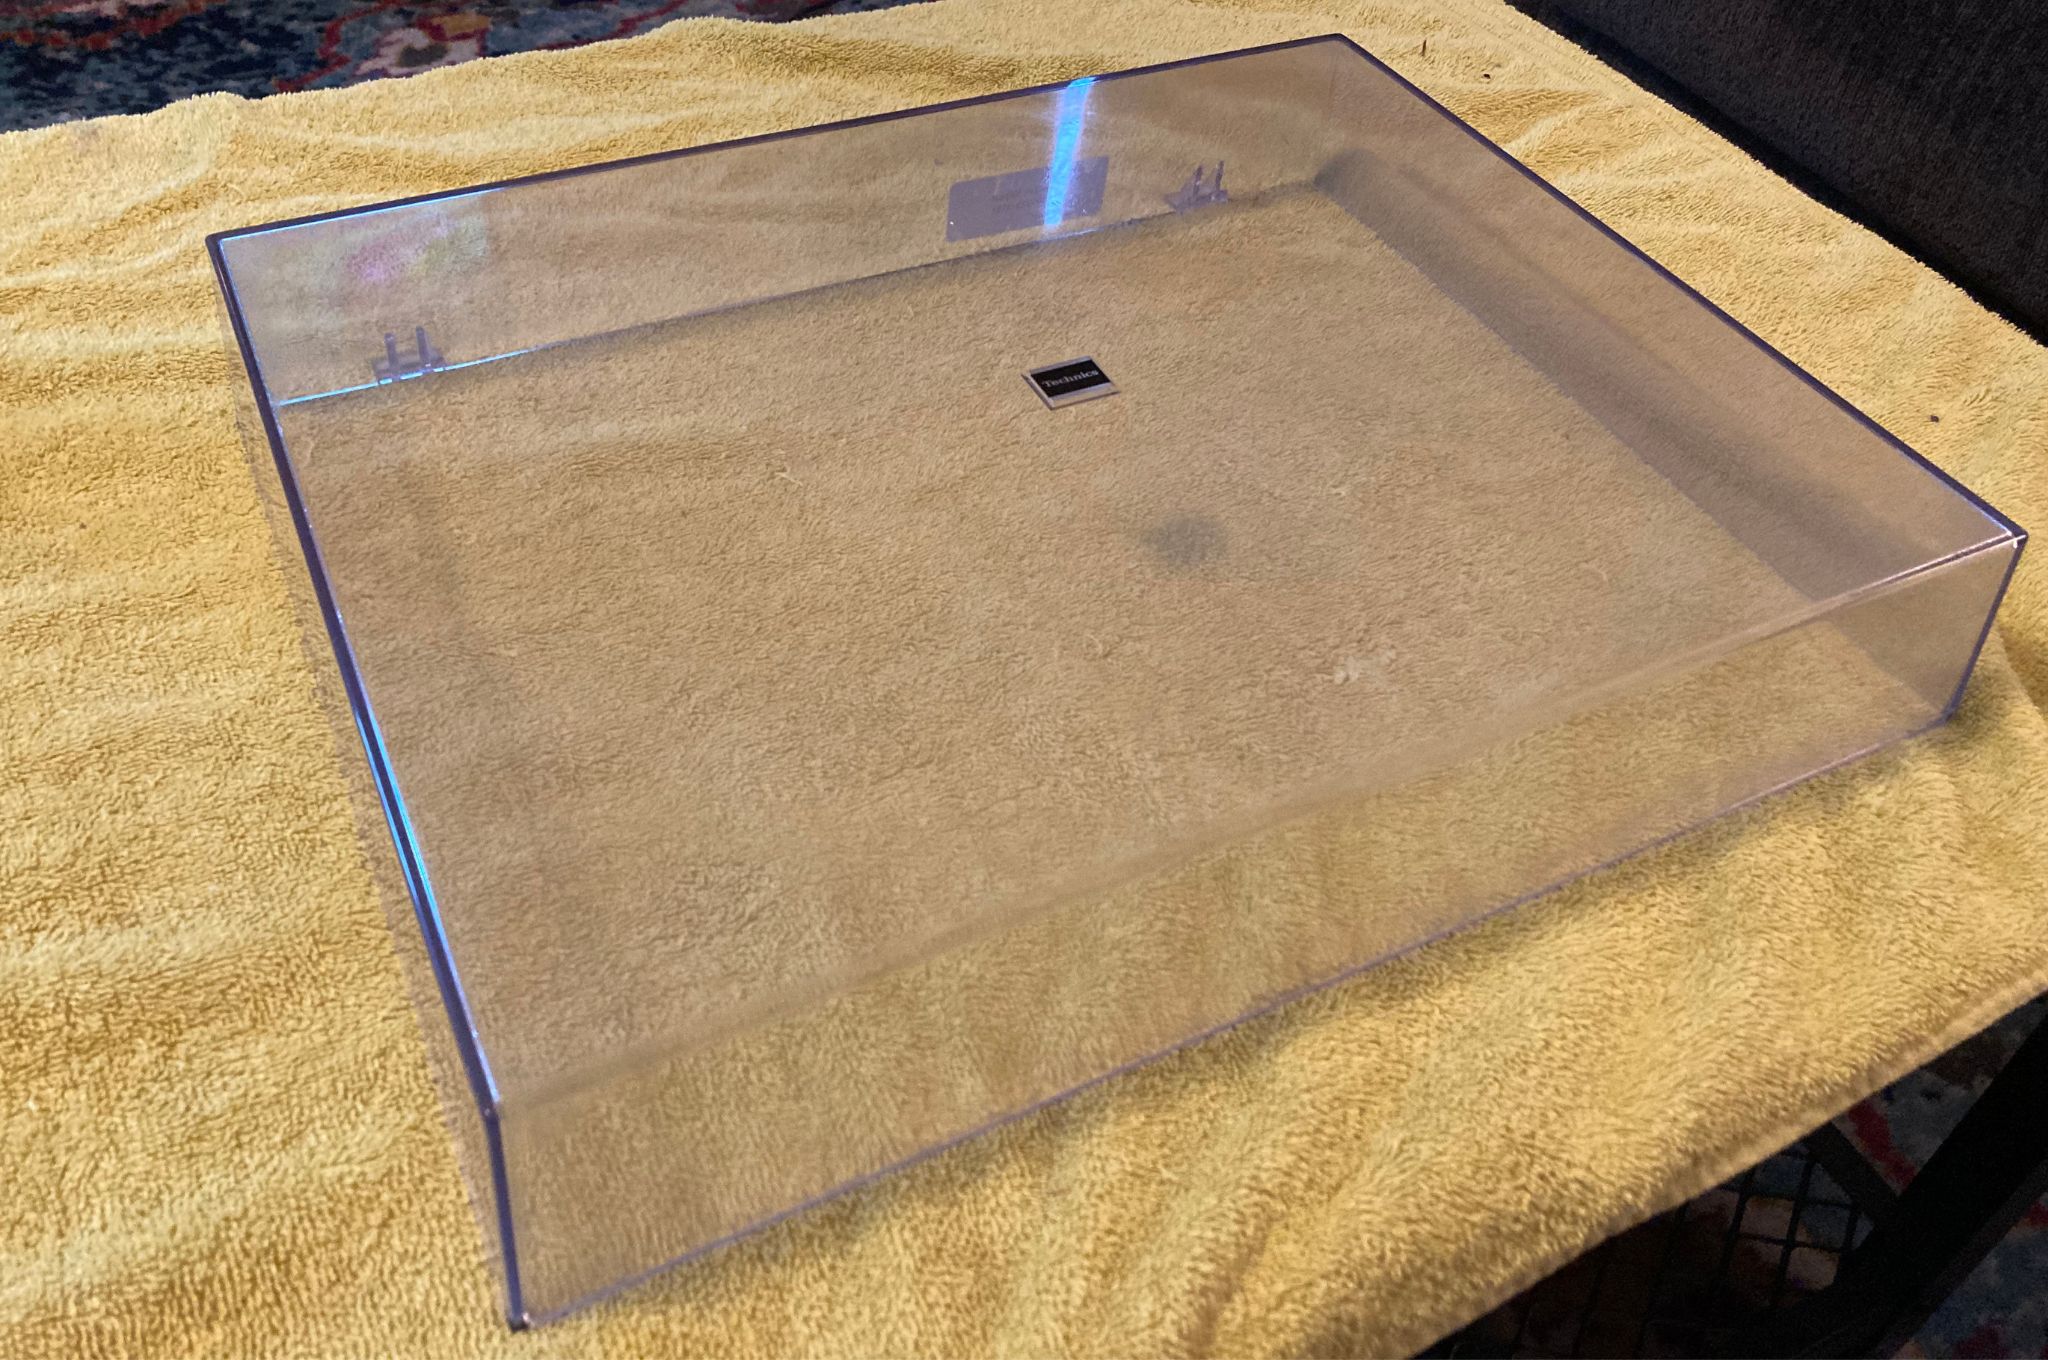
With your dust cover freshly cleaned, it’s time to place it back on your turntable and put on your favorite record while admiring your hard work.
What about severely scratched dust covers?
For dust covers with deeper scratches, a more intense solution may be necessary. Still, the same process above still applies, just with a dedicated scratch remover product.
I originally had this idea when buffing my car headlights with toothpaste to remove oxidation, and that would be the next step I would take to mitigate deeper haze and scratches on turntable dust covers.
Turtle Wax, a car care brand, makes a full car headlight restoration kit with high-grit sandpaper and different polishes to remove heavy wear and tear.
In conclusion
Like many things, turntable maintenance can be done in a variety of ways. For those looking for a short and fun DIY project, restoring your turntable dust cover is a rewarding job that can be done in under 30 minutes.
I hope you found this short guide helpful!

Lead Editor / Owner
After beginning his career in the video and audio recording industry, Andrew started HiFi Hippo to share his knowledge and passion for vinyl and vintage audio with other readers.