
Collecting vinyl is all about expressing yourself and your music taste. You can learn a lot about someone by just browsing through their record collection. That’s why many vinyl-lovers choose to display their collection in a way that is eye-catching and stylish. Hanging records on the wall is a great way to do this!
Of course, there are many methods of displaying your records on the wall. In this guide, we’ll cover our six favorite ways of hanging records on your wall.
Before you start
We highly recommend planning out your record wall first before you begin. Since some of these methods involve putting holes in your wall, it’s important to do it right the first time.
We suggest you first measure the wall you are planning on using, then draw everything out on a piece of paper. Next, make light markings on the wall with a pencil.
What you need to know
A standard vinyl LP album cover is 12.5 x 12.5 inches. Make sure you measure and account for this in your design.
Helpful items to have
- Level
- Pencil
- Tape measure
- Screwdriver
- Stool or a sturdy, elevated surface to stand on
6 methods of hanging your records on the wall
Now with all of that information out of the way, let’s go through the options you have for hanging records on the well.
Method 1: Screw hooks
A cheap and DIY way to hang vinyl records
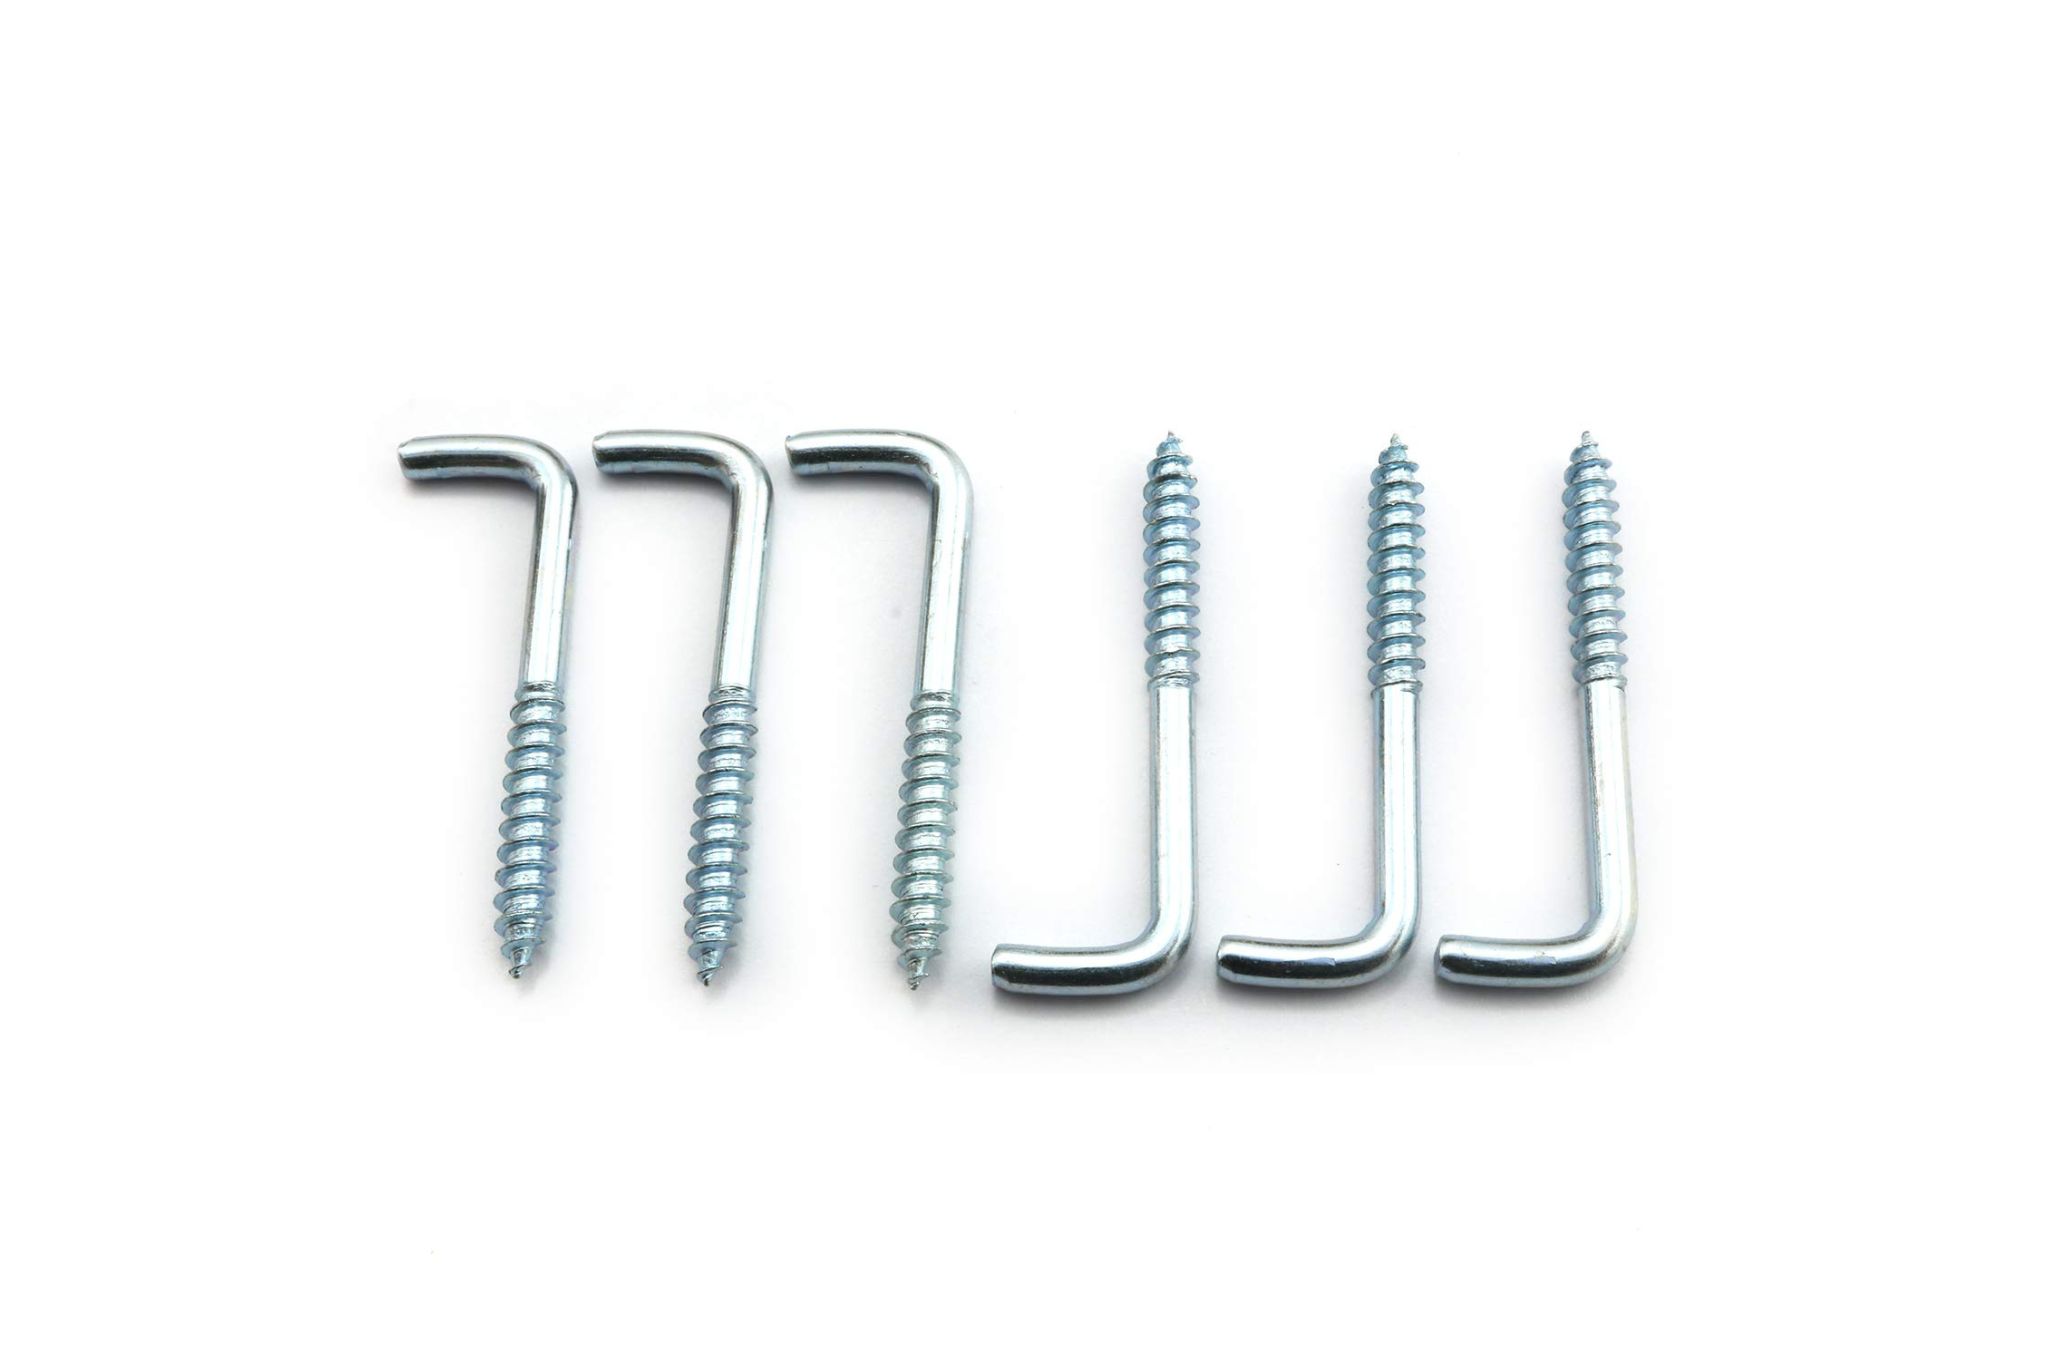
Many people in the vinyl community have opted to use L-shaped bend screws to display their favorite albums. Not only is this method cheap, but it allows you to easily access your records if you’d like to play them.
Pick up some “bend screws” at your local hardware store. You’ll usually pay about $1-2 for a pack of 4. This means you can display 10 records for around $20.
Once back at your house, start planning your design. Here’s our suggestion for the best way to hang your records.
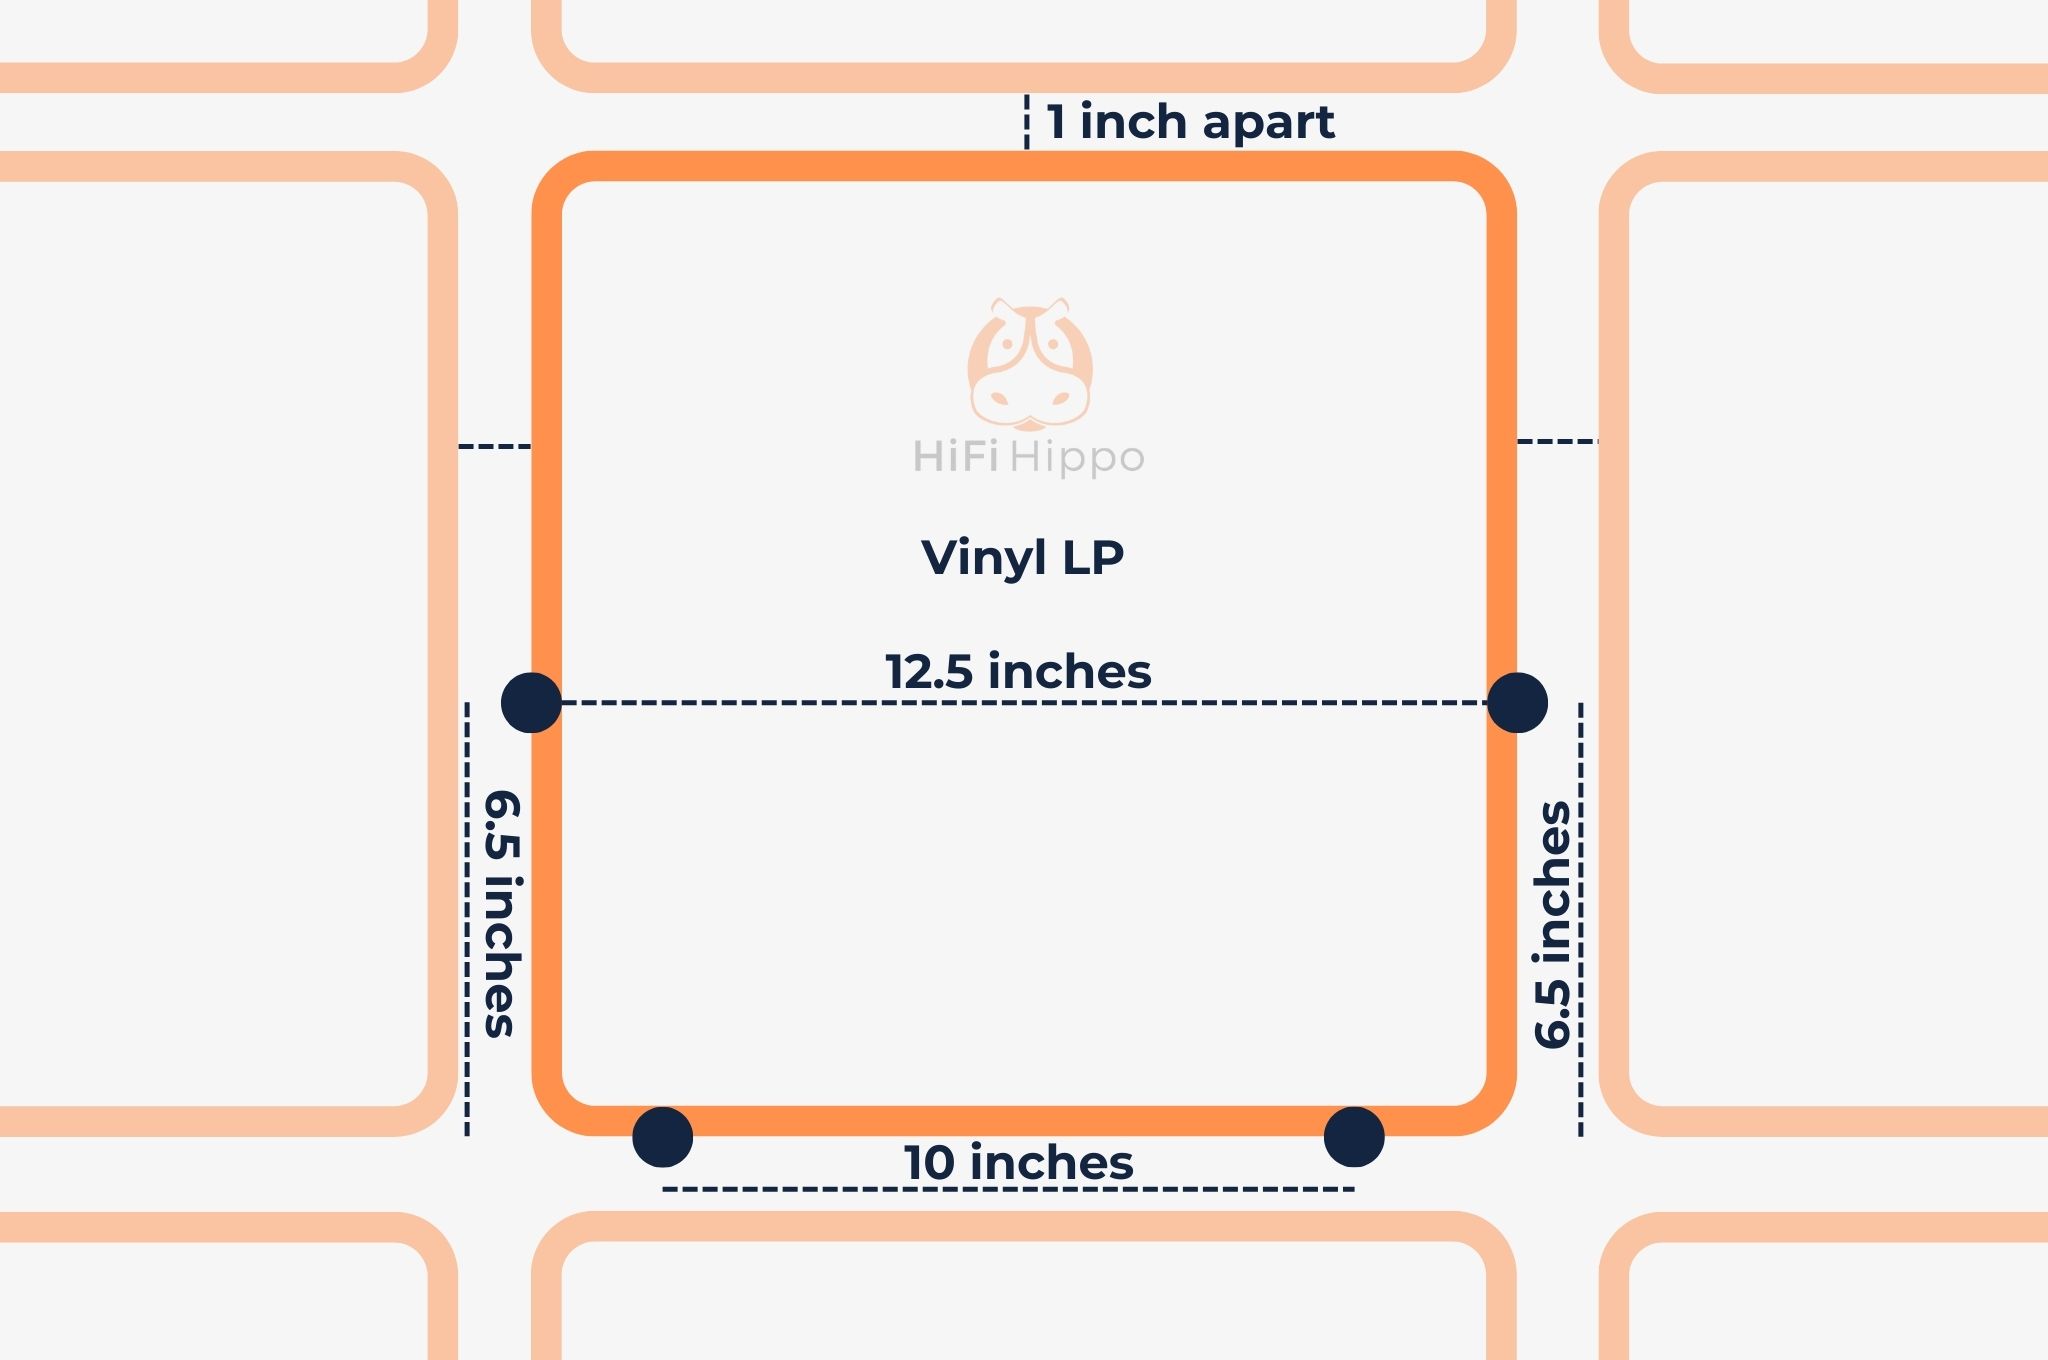
- Start with the center record in the design.
- Place 2 screws at the bottom edge of the album cover 10 inches apart.
- 6.5 inches above the 2 screws, place another 2 screws 12.5 inches apart.
- Place the surrounding records 1 inch apart from one another.
Pros
- Cheap and DIY
- Allows for easy access to your records
- Easy to add on to
Cons
- Involves leaving holes in your wall
- The metal of the screw doesn’t exactly look very appealing
Method 2: A record shelf

- DISPLAY YOUR FAVORITE VINYL RECORDS- Clear acrylic vinyl record...
- EASY ACCESS TO DAILY LISTENING ALBUM- It makes listening to your...
- PERFECTLY GIFT FITS ONE LP- Essential for music enthusiasts who...
An elegant way of storing records for easy access
When it comes to filling your entire wall with records, a dedicated product like a record shelf is usually the best option. Record shelves offer an elegant way to display your records while also granting easy access when you want to play them.
Record shelves are more of a permanent solution as you’ll have to screw them into the wall, so if you’re not quite ready to commit you may way to test one of the more temporary solutions first.
That being said, shelves are some of our favorite methods for making a record wall.
Pros
- Stable and won’t fall unexpectedly
- Provide easy access to records for playing
- Look nice
Cons
- Involves drilling screws into the wall
- Costs more than some of the DIY methods
Method 3: Thumb tacks or push pins
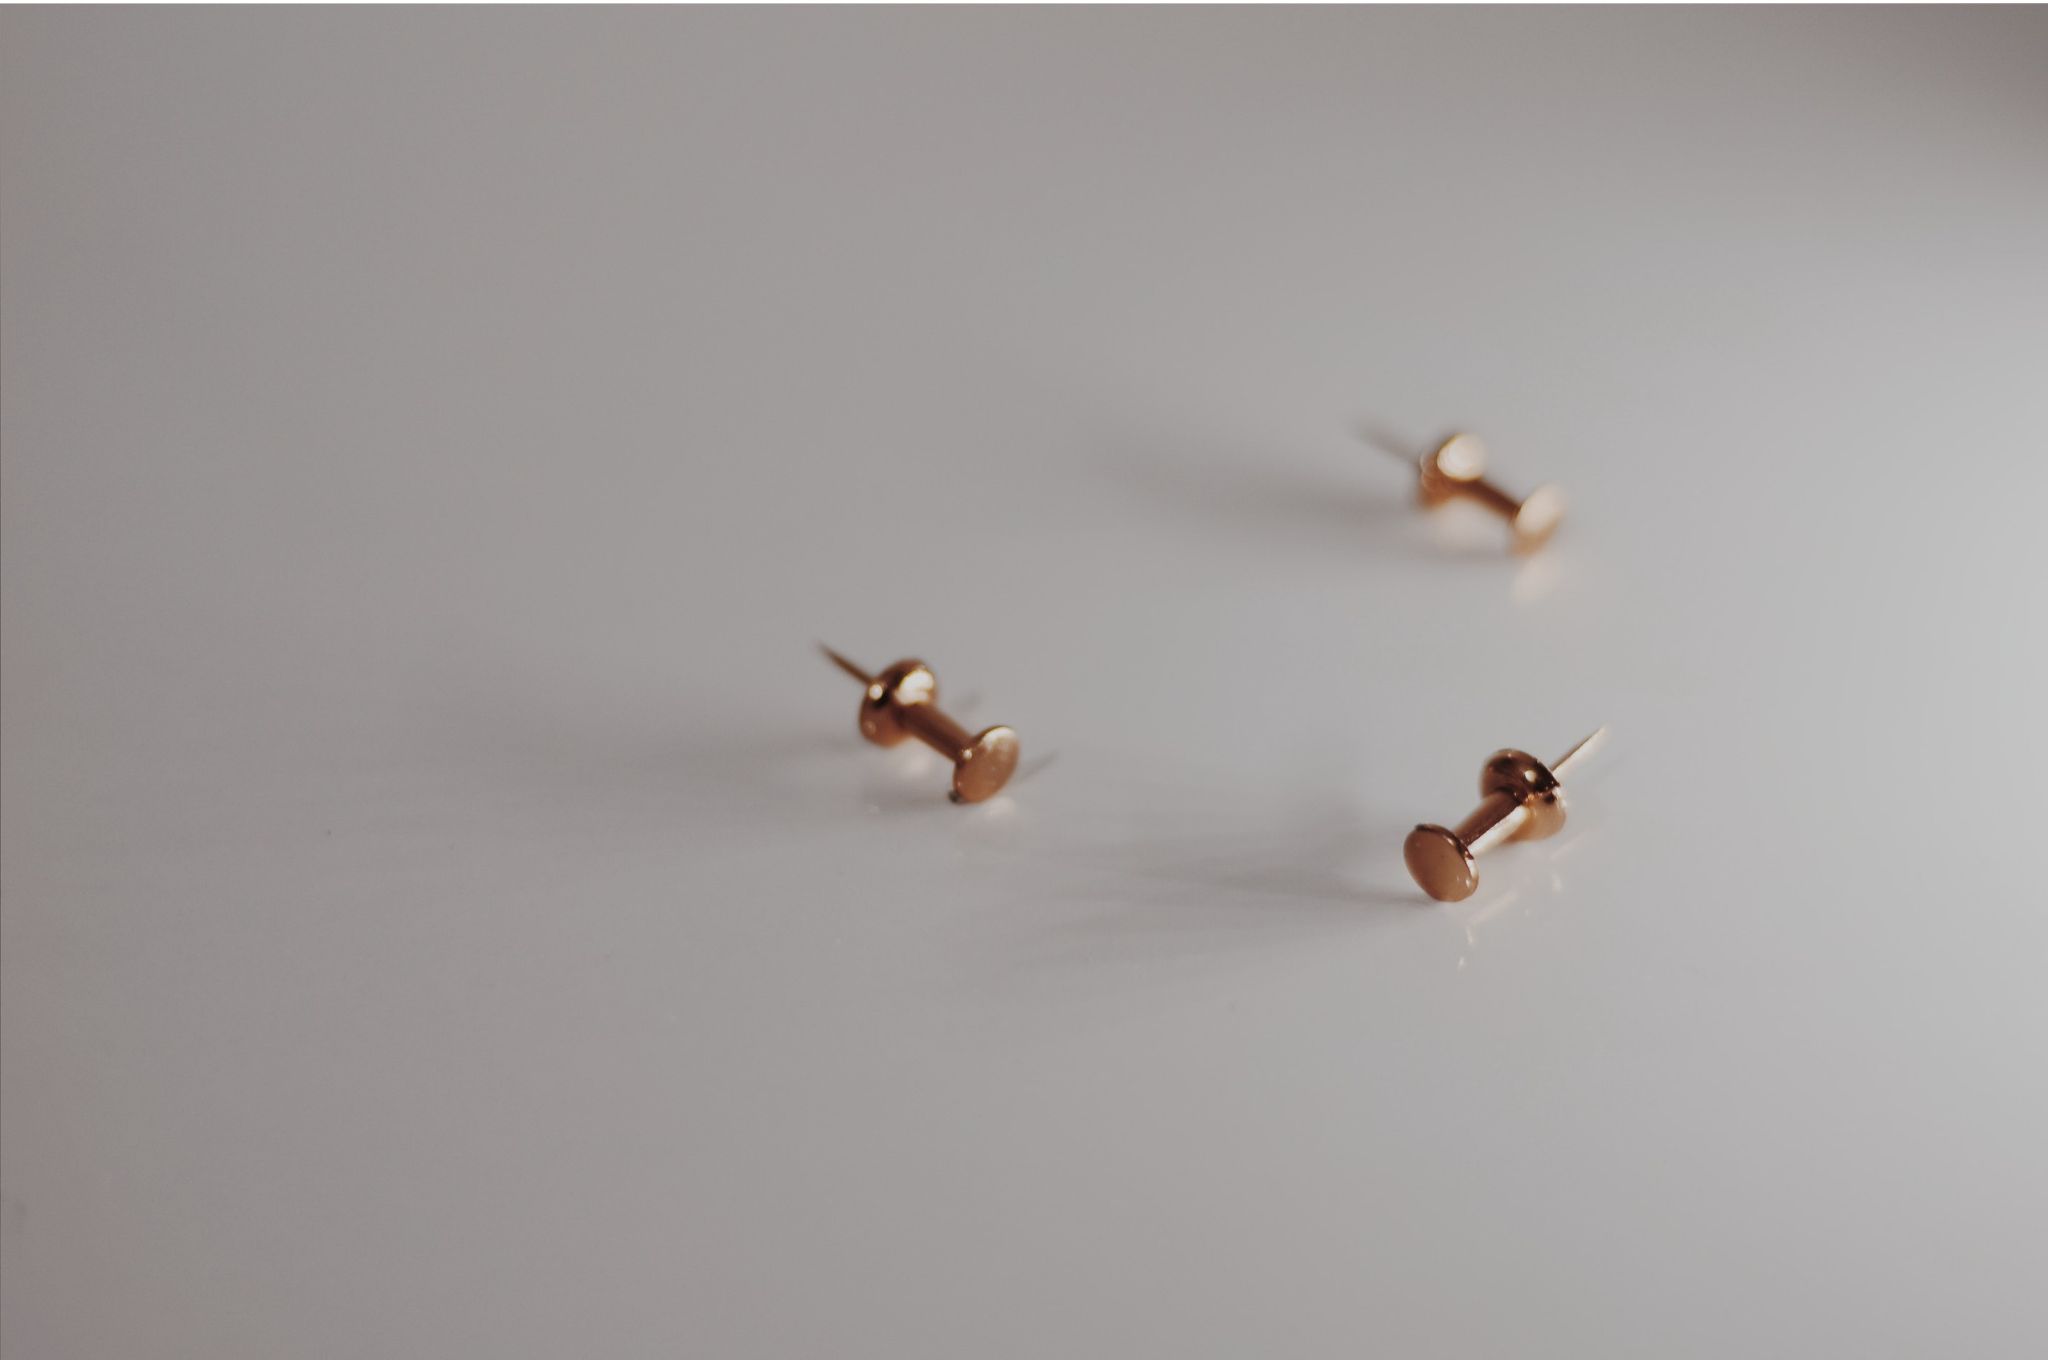
Cheap and DIY method using something you probably already have in your house
This method is very similar to the bend screw method above, however, it involves the use of thumb tacks instead of screws.
Why would a thumb tack be a better option? For starters, you probably have a few in your house already, and if not you can purchase hundreds of them for under $10. They’re easy to install and don’t leave as big of a mark on the wall like a screw does.
They do tend to be a little less stable, so you might need to use more than four per record.
In general, the installation process is the same as the screw method above. Map out your design, place your thumb tacks on the wall, and be sure to leave around 1 inch of space between each vinyl record.
Pros
- Extremely cheap
- Easy to install
- Leave less of a mark on the wall
Cons
- Aren’t as strong as a screw
- Don’t look very professional
- Can be a hazard if they fall off without you knowing
Method 4: Wall-safe tape
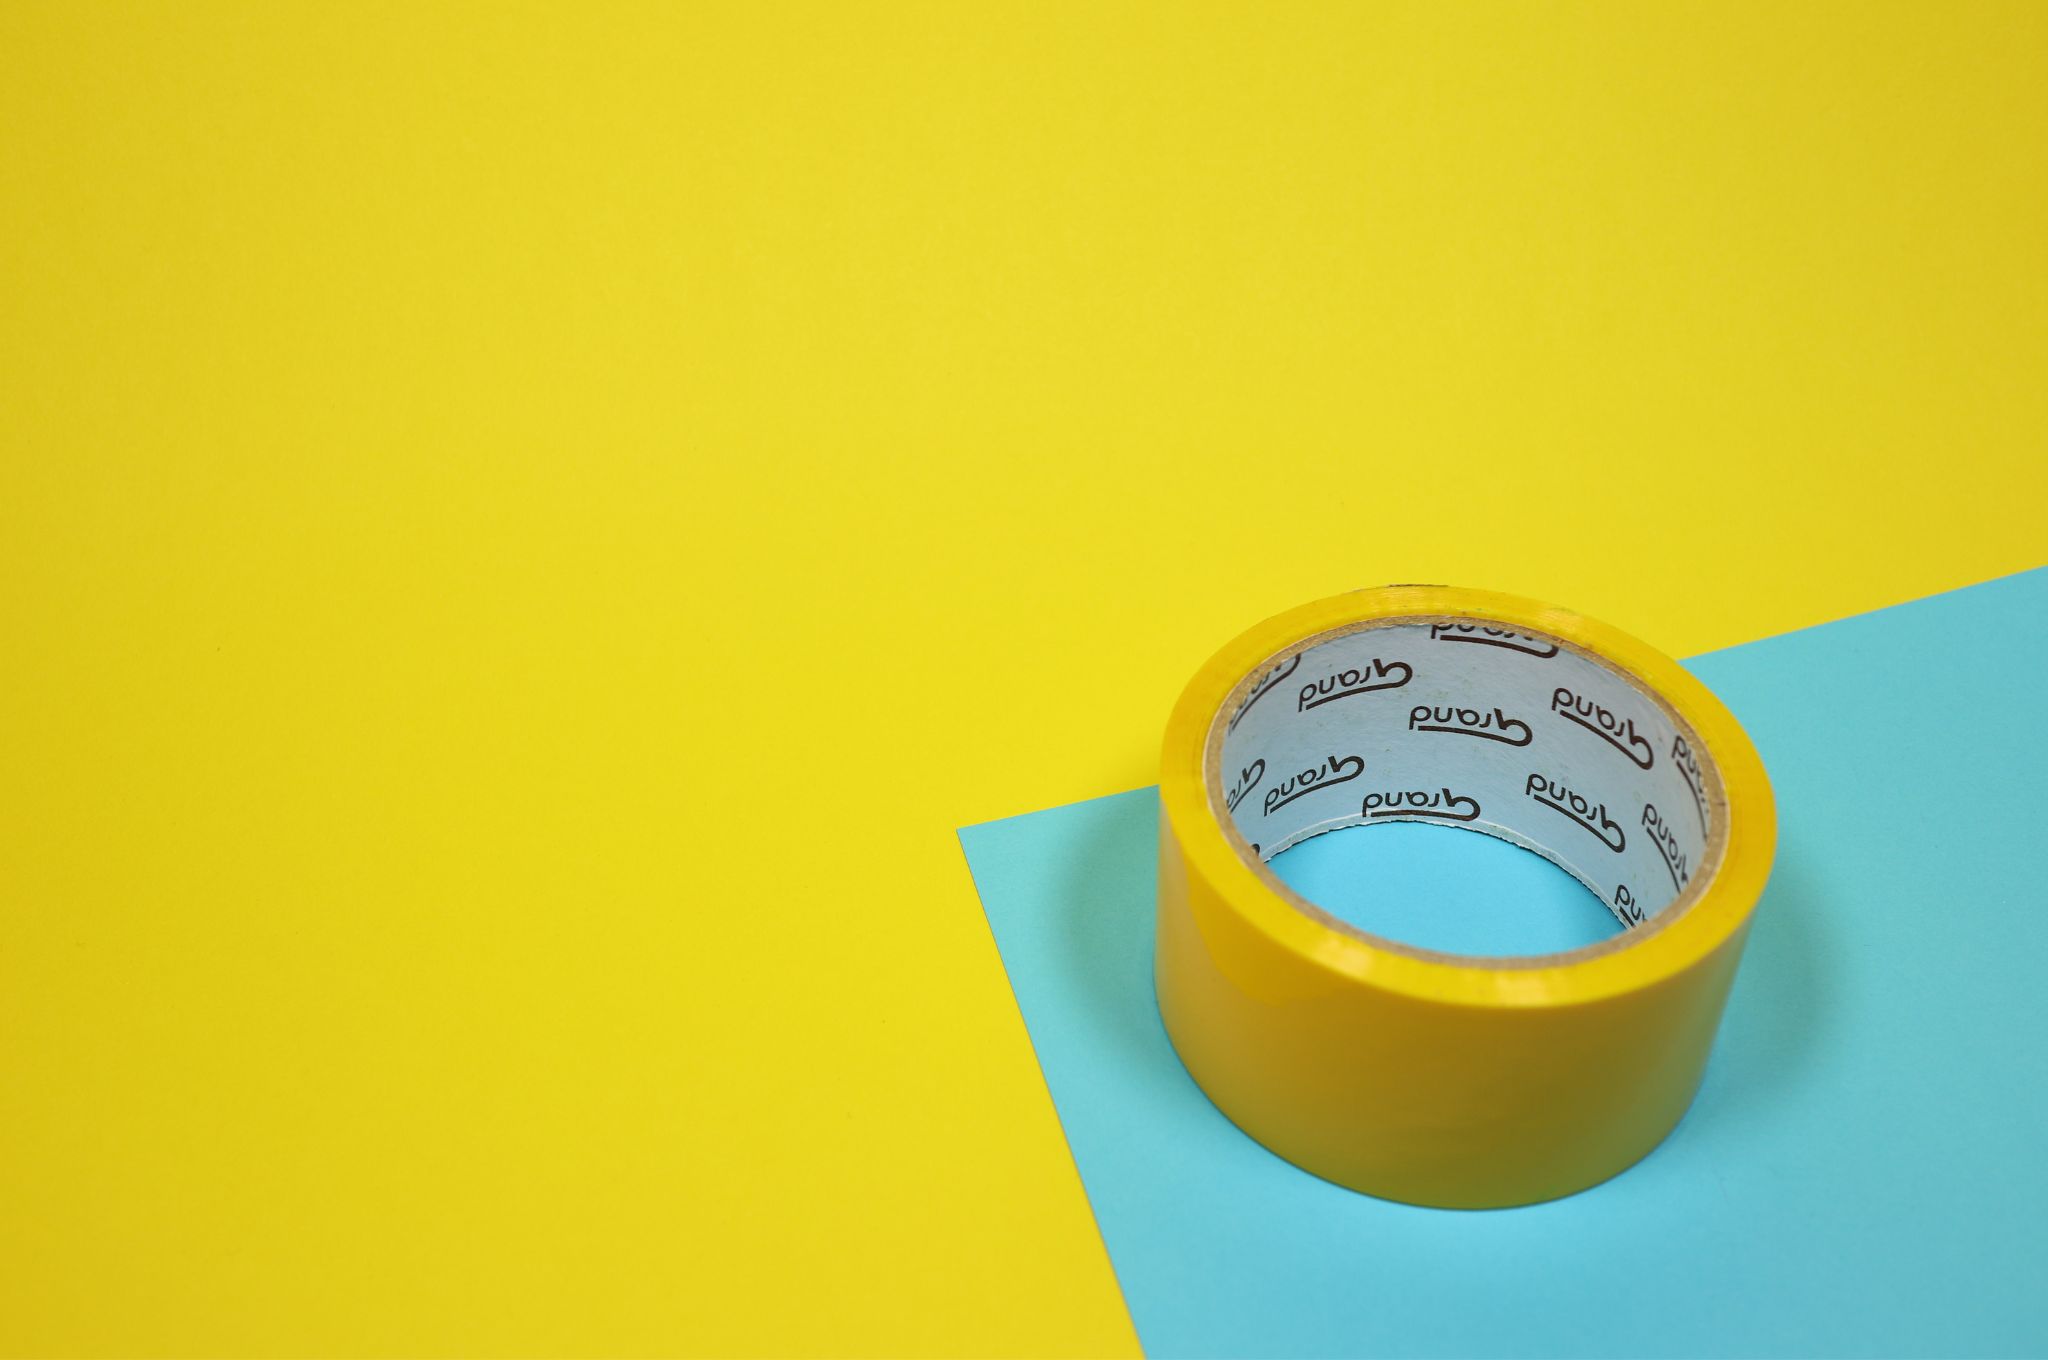
A safe and easy no-hole method for hanging records
Wall-safe tape or painter’s tape is a quick and simple way of hanging vinyl records up. Not only will the tape protect your walls, but also your album sleeve. This is a great idea if you rent an apartment or live at home because it won’t leave marks or holes.
Keep in mind that this is more of a temporary record-hanging solution. The tape will not last forever, so it’s good to double-check the strength a few days after hanging them up. We recommend replacing the tape every 6-12 months, especially if you live in a humid climate.
To install, again start with one record in the middle. If you’re not using double-sided tape, make a thin loop of tape so that it can stick to both the wall and the back of the record cover.
Using a level, hang your first record on the wall and then place the remaining records 1 inch around it.
Pros
- Won’t damage the walls or album sleeve
- Cheap and low effort
- No visible hardware
Cons
- Is very weak compared to other methods
- Can leave a sticky residue if the tape is left on for too long
- Hard to easily access records for playing
Method 5: Sticky tack
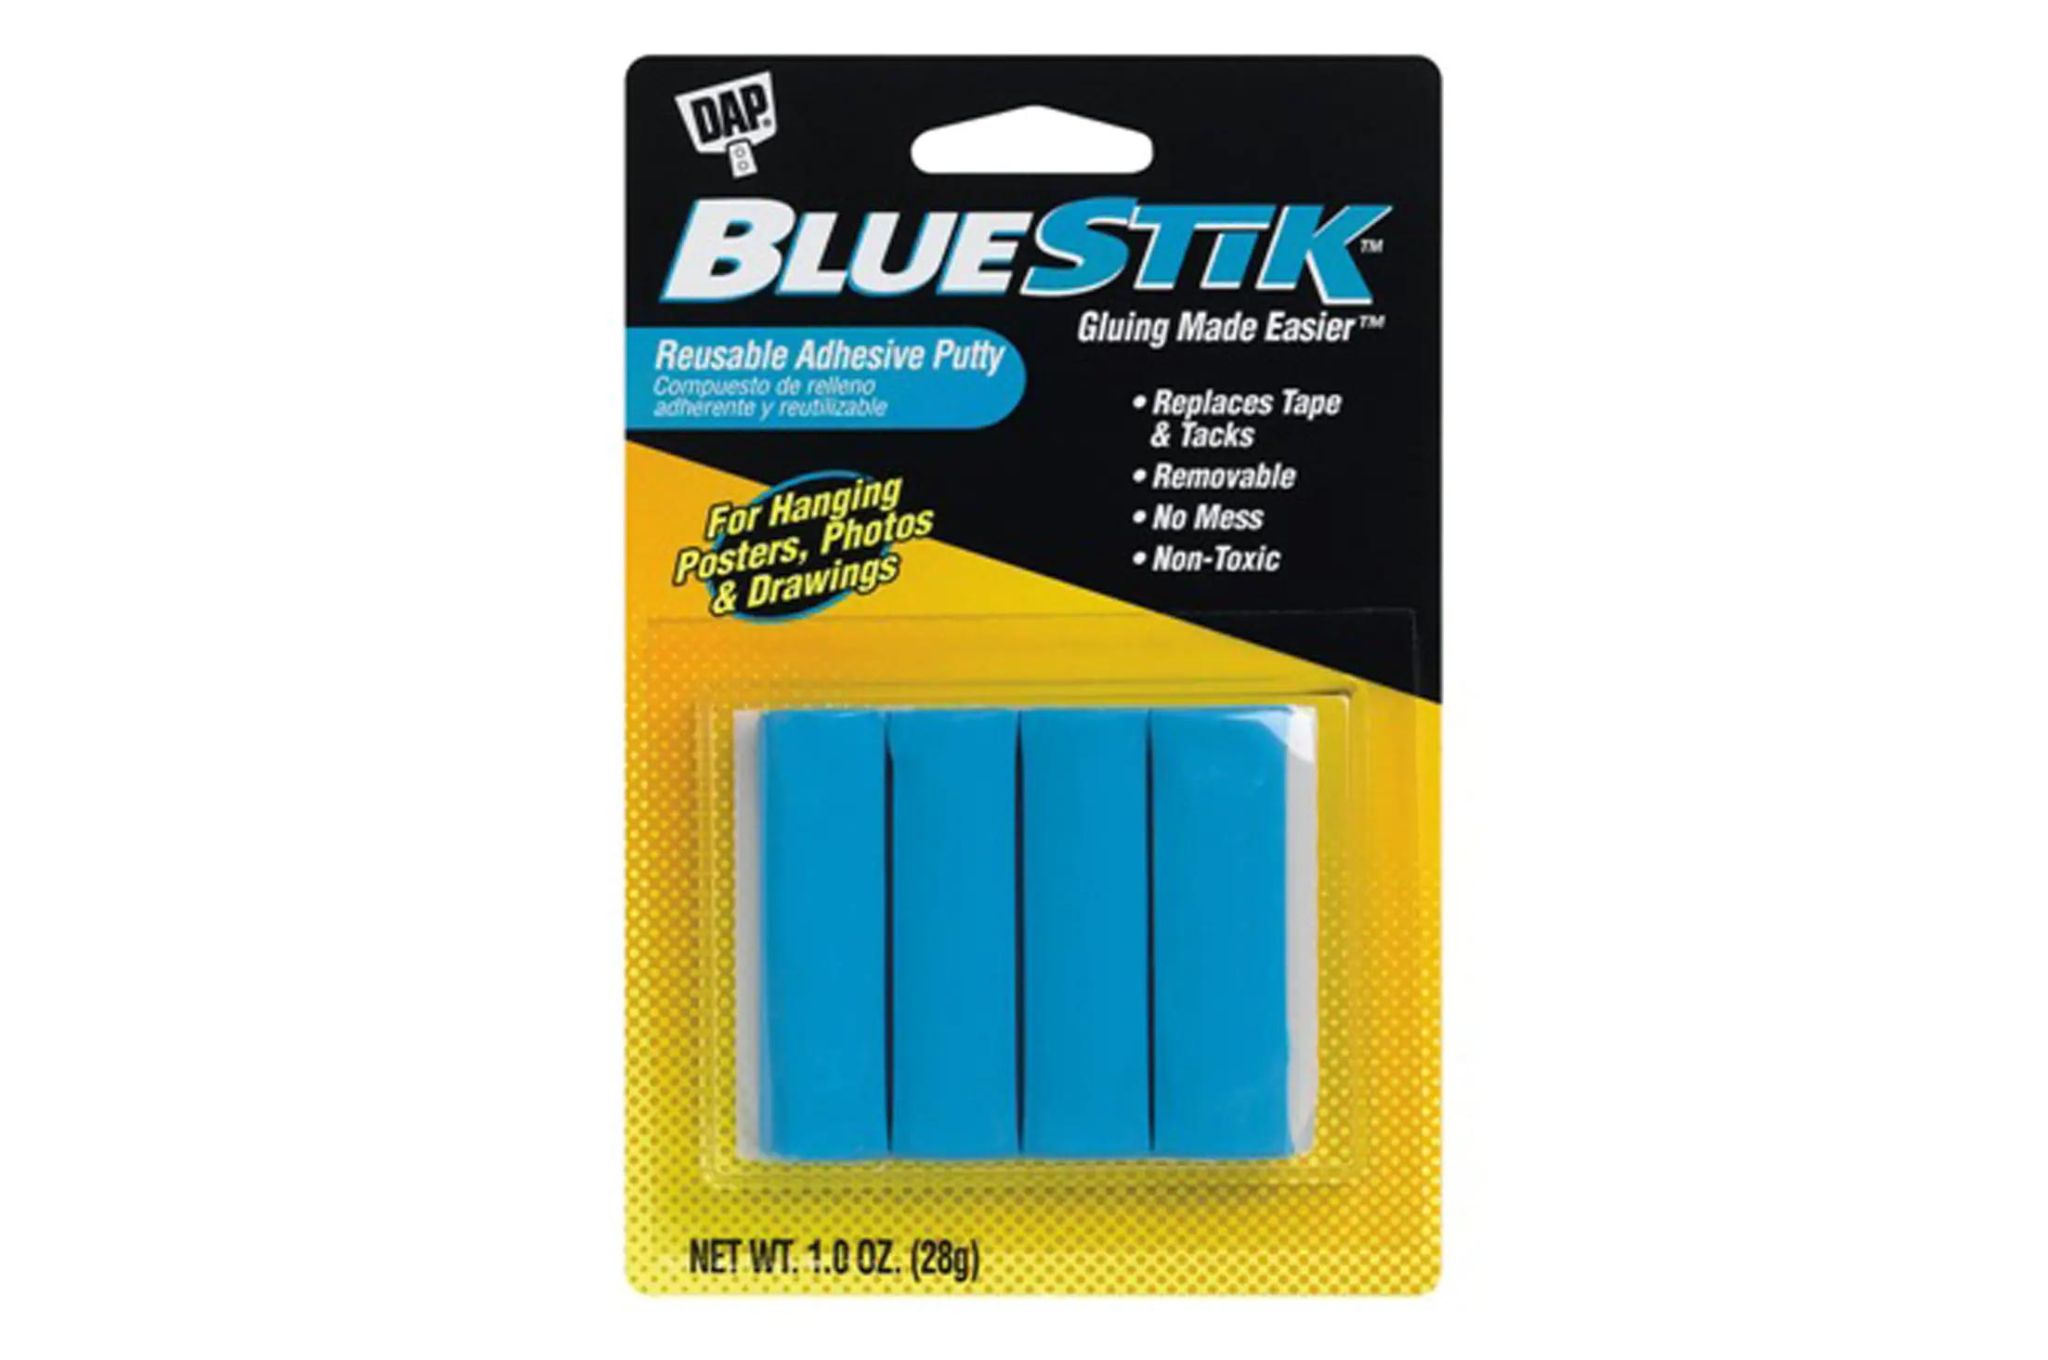
A stronger no-hole method display method
If no-stick tape seemed a little too weak for you but you still don’t want to go putting holes in your walls, sticky tack might be the solution! Sticky tack has a stronger bond than some tape and it’s usually pretty cheap.
Of course, sticky tack can leave some residue behind on your album sleeve, but it’s usually pretty easy to scrape this off without damaging the cover.
Also, sticky tack is great for displaying sleeveless records if you don’t care about playing them(note: DON’T use sticky tack on records you want to play. Dust will get into the grooves and damage the record and your record player).
Installation is very easy. Simply place a small ball of sticky tack on each corner of the record sleeve and hang it on the wall. For records without a sleeve, use a few pieces of sticky tack on the inside record label, then stick it to the wall.
Pros
- Cheap and simple
- Requires no holes
- Great idea for sleeveless records too
- No visible hardware
Cons
- Can leave some residual stickiness behind
- Doesn’t allow you to easily access records if you want to play them
- Exposing a sleeveless record will collect dust on and in it
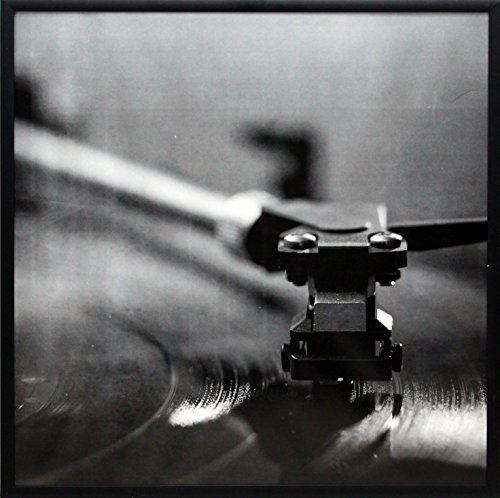
Method 6: Record frames
- SMOOTH, CLASSIC DESIGN: This black album frame will make...
- TOP QUALITY FRAME: With a smooth brushed aluminum finish, this...
- EASY TO USE: This frame features easy to turn tabs on the back to...
A sleek a luxurious way of displaying your records
If you’re most interested in using your record as a piece of art, record frames are a great way of doing this.
Of course, this is the most expensive option on this list, so take into account the decor of your entire room while you plan this out. For vinyl and music lovers alike, this adds some awesome flair to any room of the house.
When it comes to a record frame, you have a few different options. First, there are the simple 12.5 x 12.5 LP album frames. These simply act as a more stylish and protected way of displaying your standard record sleeve.
There are frames that allow you to display both the record and the album art. These look especially cool in the right setting.
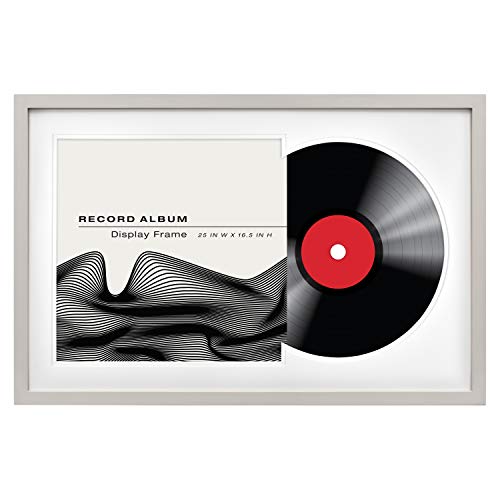
- DESIGN: The record album frame features a .75" wide profile and a...
- DIMENSIONS: This frame measures 25x16.5 inches and is designed to...
- QUALITY CONSTRUCTION: Each frame is constructed of pine wood with...
It goes without saying that playing a record once it’s in a frame is a little difficult. A frame should only be used for records you have copies of, rare records, or special vinyl with brightly colored labels you specifically want to display.
Pros
- Design-friendly method for people looking for decorating ideas
- Provides great protection for the vinyl record
Cons
- A frame is more expensive than a shelf or a DIY method
- Involves a lot of planning and interior design to make it look right
The dos and don’ts of hanging vinyl records on your wall
Now that all the methods are out of the way, let’s cover a few dos and don’ts.
Do: Take time to plan your design
It’s incredibly important you plan your design before you start to hang your vinyl on the wall. This not only saves you from the headache of a mistake, but it saves you money too.
When you go to the hardware store or purchase a few record frames, you’ll know exactly what to get.
Do: Make sure you have enough records
This goes back to planning, but make sure you have enough records to fit your entire wall! You don’t want to get halfway through and realize you’re out of records.
Do: Use a level
Few things look worse than a lopsided record frame. That’s why it’s incredibly important to use a level when planning and placing your records on the wall.
Don’t: Display records you play frequently
Trust me, I’ve done this. Don’t display records that you enjoy playing. Either one of two things will happen: You’ll not play your favorite record as much because of the inconvenience, or you’ll end up replacing the record anyways because it’s such a hassle.
Don’t: Create a record wall in a room with no temperature control
Records need to be stored in a climate-controlled environment. If the location of the room gets unnecessarily hot, cold, or receives excessive direct sunlight, we recommend reconsidering.
Don’t: Create a record wall in a highly trafficked area of the house
Record walls tend to jut out more than a typical picture frame. Because of this, they are prone to be run into if placed in busy areas of the house like hallways. Instead, focus on a room where people are stationary like a living room, bonus room, or bar.
In conclusion
Hanging records on a wall is a great way to create conversation and bring a little creativity into a room. There are a variety of ways to do this, both with temporary and permanent solutions.
We hope you found this guide helpful. Happy hanging!

Lead Editor / Owner
After beginning his career in the video and audio recording industry, Andrew started HiFi Hippo to share his knowledge and passion for vinyl and vintage audio with other readers.