Everyone loves the sound of a vinyl record. Every time you put a record on it’s an event – not to mention the superior sound quality that comes along with it. With all this being said, the reason why digital information became so prevalent in society is because of its convenience and portability. The same thing goes for music.
It’s no secret that vinyl records aren’t the most portable things. That’s why in recent years, converting vinyl to digital format has become so popular. Aside from the obvious sound benefits, some old vinyl records aren’t available through streaming platforms or on CDs. Additionally, if you’re a music producer, you might want to sample certain tracks from your vinyl records. This makes digitizing your records even more appealing.
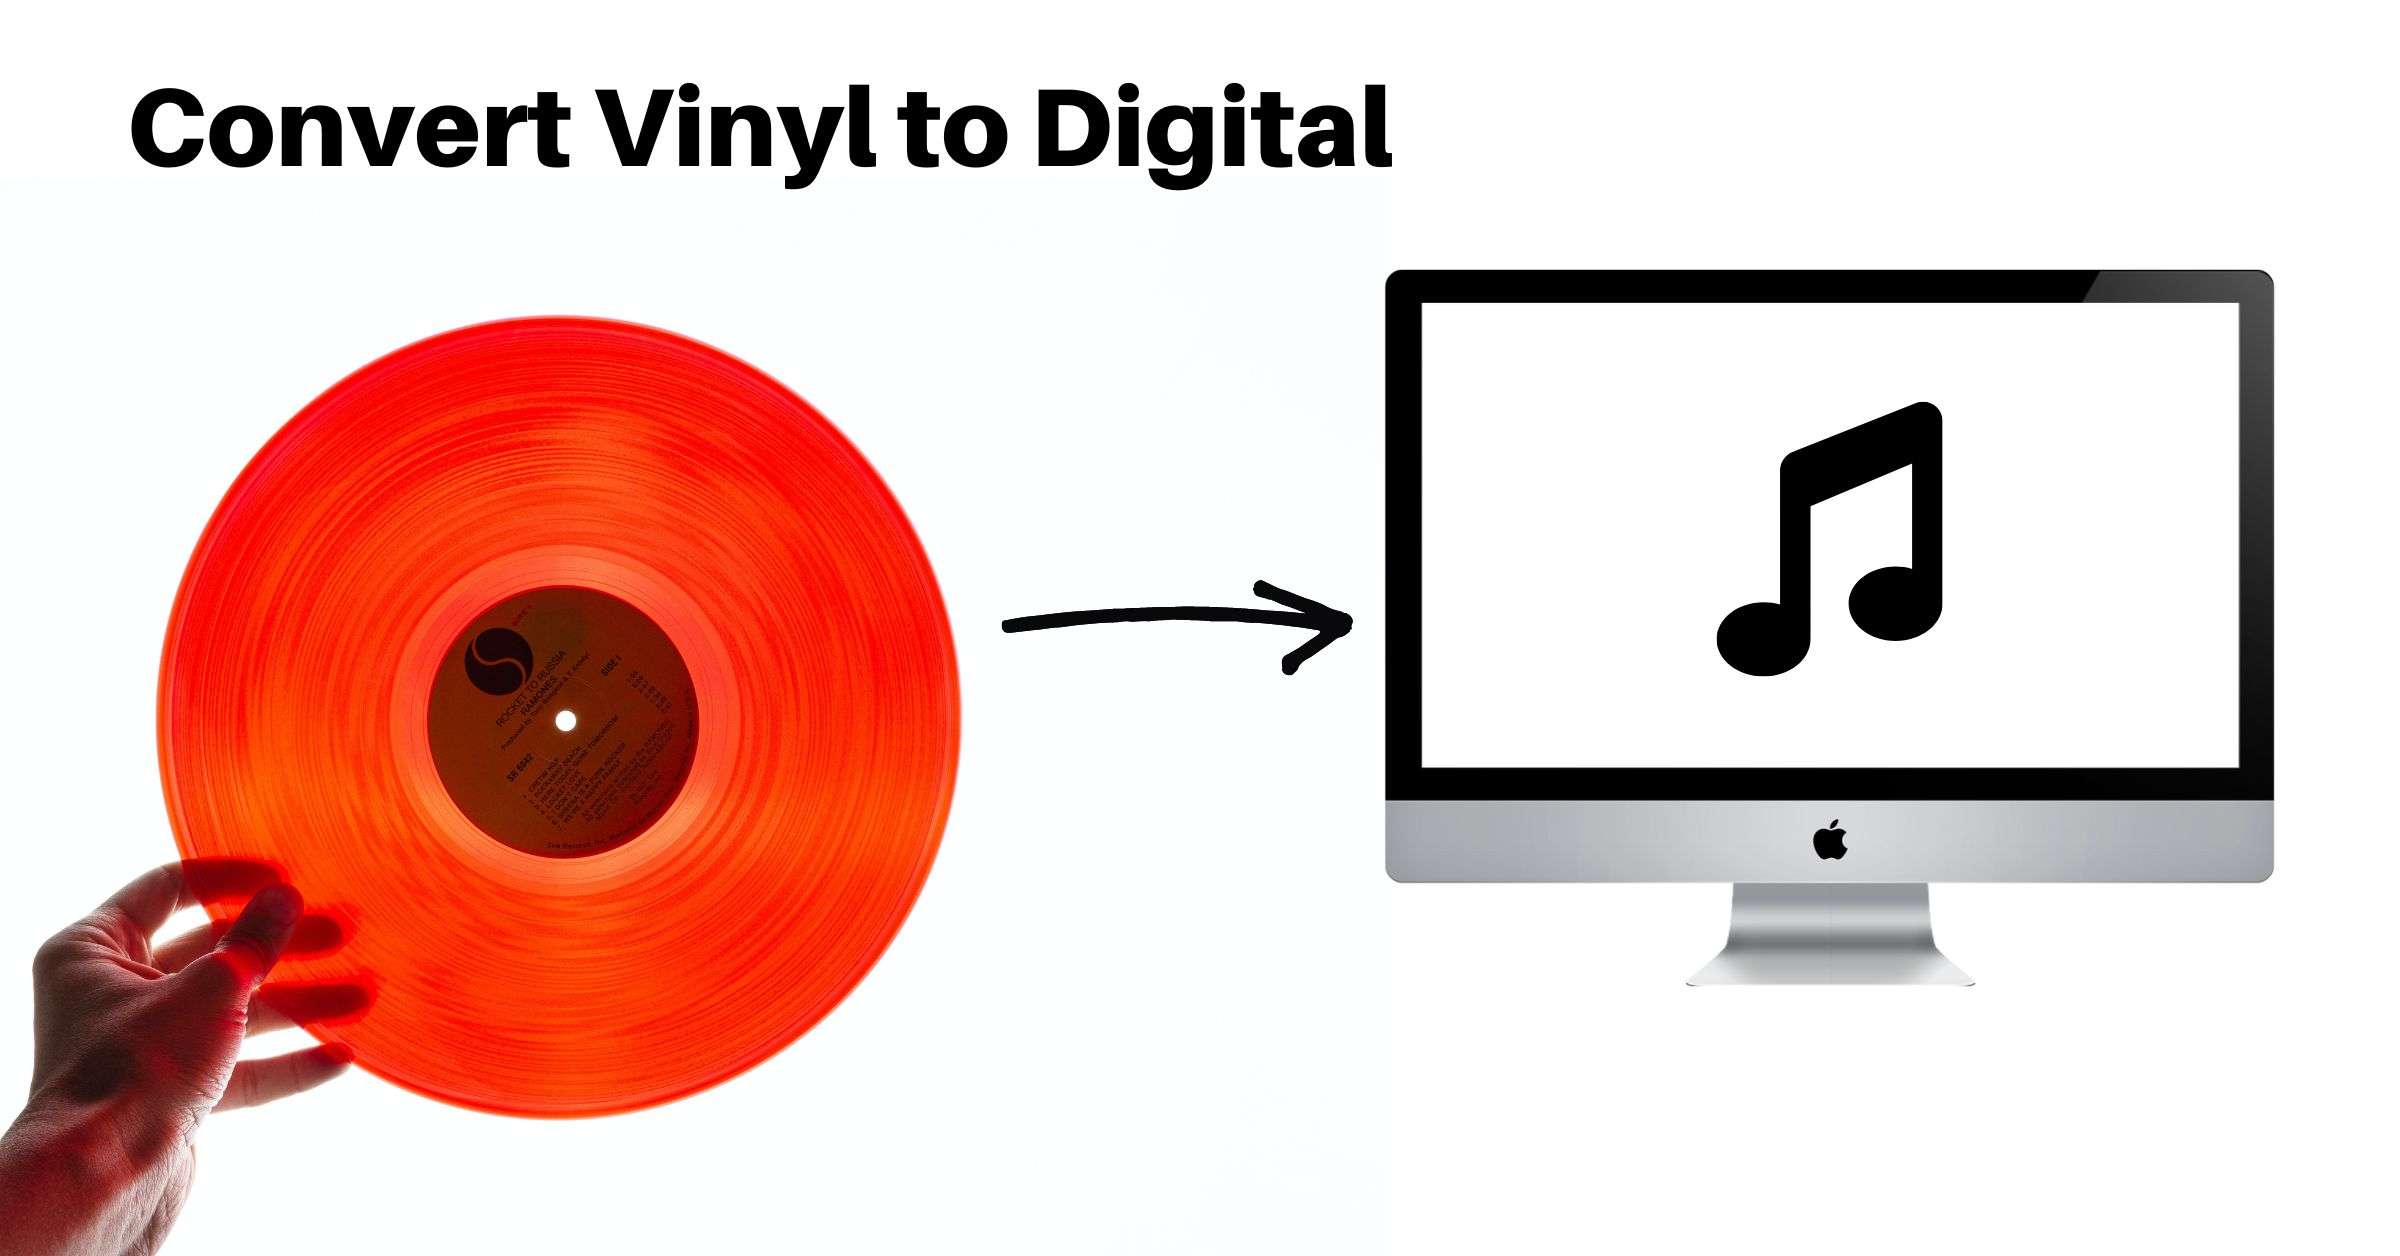
In this guide, we’ll go over the process of converting your record collection to digital.
What you need to get started
Before you can start converting a record to digital audio, you’ll need the following:
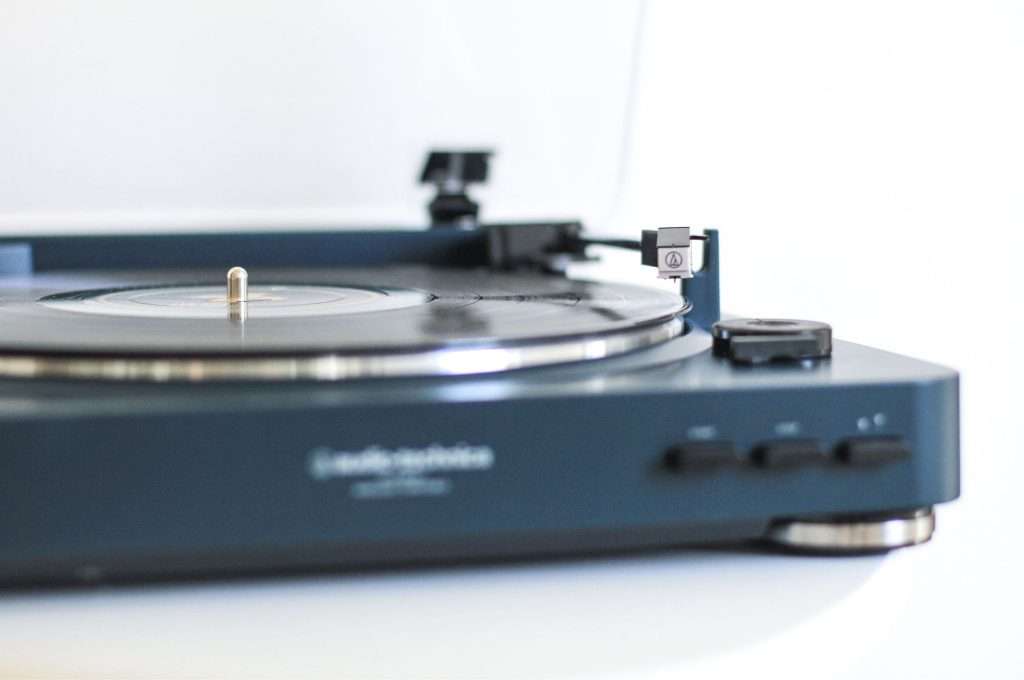
- A turntable or record player
- A computer
- Recording software
- Audacity is a free open-source option. Find it here.
- Record cleaning supplies
- Other gear or cables depending on the method you choose. Read below.
Before recording
Before you start recording, it’s important to first clean the vinyl record you wish to record. Rember, any snaps, pops, and cracks will be heard in the recording, so it’s important to clean off as much dust and static electricity as possible.
4 methods for converting vinyl records to digital
As with most things in life, there are multiple ways to convert your records. Of course, each method will have varying results of quality.
Cheapest: Headphone line out to computer
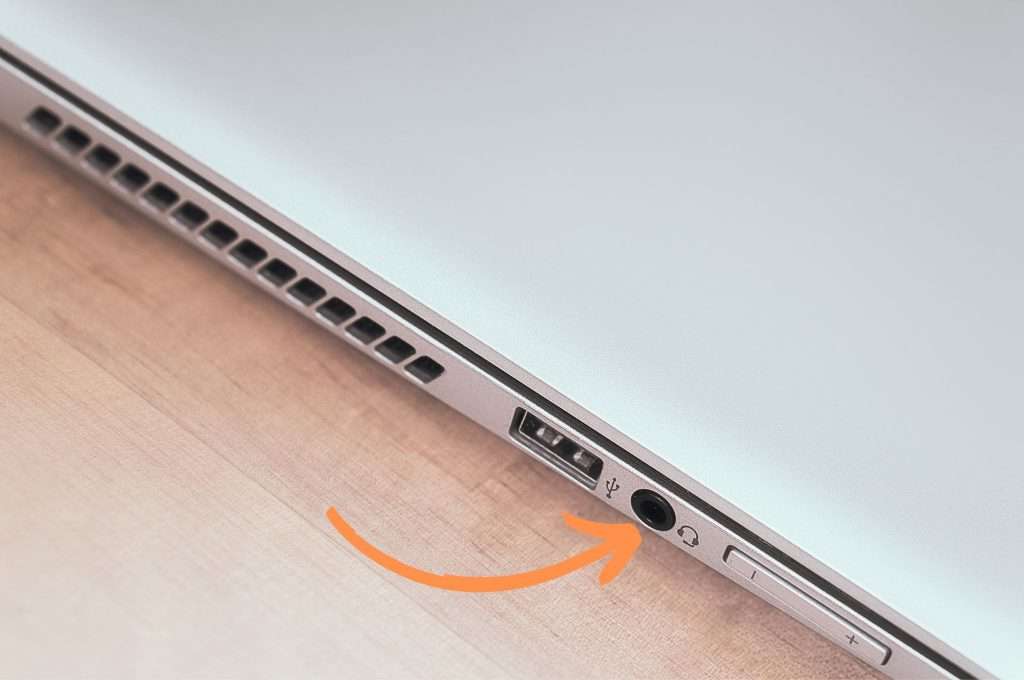
Requires
- Stereo or phono preamp with a headphone jack
- Male-to-male ⅛-inch cable
- Computer with an ⅛-inch headphone jack
- Maybe: a ¼-inch to ⅛-inch adapter depending on your stereo
You might already have all the equipment you need to convert your vinyl to digital. While this method won’t produce great sound quality, it’s perfect for lo-fi music producers who want to quickly sample a track.
First, connect your male-to-male headphone jack to your stereo or phono preamp headphone jack. Then, simply plug the other side of the cable into your computer. The audio from your stereo or preamp should be seen in your recording software.
Keep in mind that when you convert vinyl this way, your computer is handling the digital conversion. Computer headphones jacks typically aren’t made to convert high fidelity music, so the audio will be heavily compressed.
Budget method: Audio capture card

- USB audio grabber with 3.5mm and R/L audio connector input, via...
- Audio Capture Card, Plug and play, no extra power supply. Easy to...
- Coming with professional audio capture/converting software (...
Requires
- Stereo, phono input preamp, or record player with line output (RCA, ¼-inch, or ⅛-inch )
- Male-to-male ⅛-inch cable or 2-male to 2-male RCA cables (depending on your setup)
- Audio capture card
- Any necessary adapters for newer Mac computers
For under $20, you can bypass your computer’s audio jack and go straight into the USB port. An audio capture card is a device that handles the analog to digital conversion and then passes the digital signal through the USB bus.
First, connect a male-to-male cable to your record player or stereo system, then connect the male RCA end to the left and right channels of the audio capture card being sure to match right to right and left to left. Next, connect the capture card to your computer’s USB port and open up your recording software. Pretty simple!
This process takes on much less compression and retains the sound quality of your vinyl recordings.
It is worth noting that audio fidelity will still not be totally preserved, especially in your lower bass tones. While these devices are a noticeable improvement from the headphone jack method, there are still other options with better quality.
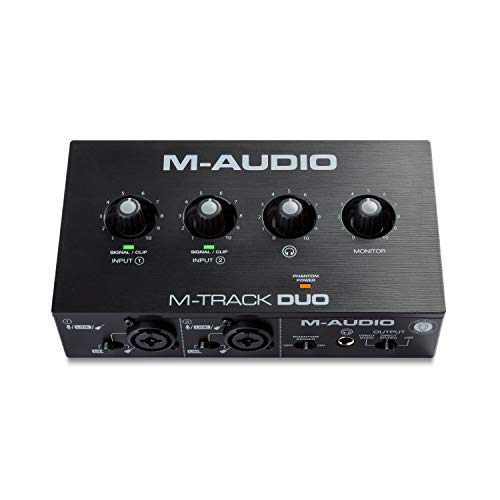
Best quality: Audio interface
- Podcast, Record, Live Stream, This Portable Audio Interface...
- Be ready for anything with this versatile M-Audio interface -...
- Everything you Demand from an Audio Interface for Fuss-Free...
Requires
- Stereo or phono preamp with line signal output
- Audio interface with left and right input and USB output
- XLR to RCA cable
While this conversion method does cost the most money, you’ll still be able to create high-quality vinyl recordings for under $100. For people who want to preserve their collection digitally, this is the way to go.
To start, first, connect the RCA end of your cable to your stereo line output being mindful to match the right and left channels. Then connect the XLR cables to the audio interface. Lastly, connect the interface’s USB cord to your computer and download and install any necessary drivers. Now you’re ready to convert some vinyl records!
USB turntable method
Requires
If you find yourself consistently digitizing your vinyl records, it might be worth it to look for a dedicated turntable with USB output. USB turntables remove the need to have separate equipment aside from the turntable you use to play records.
Simply connect the turntable to your computer using the USB output and record the tracks directly in your recording software.
Using the recording software
Now that you know the methods of converting vinyl records to digital tracks, it’s time to configure the software used for recording. Again, free software such as Audacity will work great, but there are other more professional DAWs (digital audio workstations) out there such as Ableton, Logic, and Pro Tools. These DAWs will provide you with additional options for manipulating an audio file if needed.
Set the audio sample rate
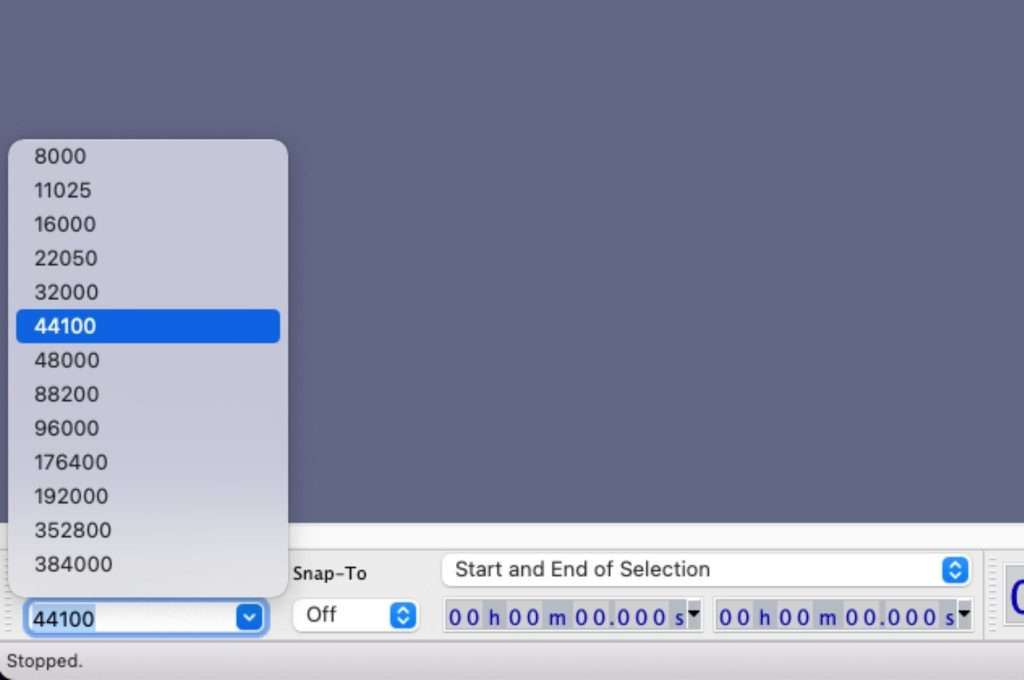
The audio sample rate is the number of samples per second taken from an audio signal. For the highest quality audio file, you’ll want to set this at your audio interface’s maximum sample rate which should be disclosed on the box or in the manual.
Typical digital audio is sampled at 441. kHz or 44,100 samples per second, however, the audio interface we recommended above is capable of sampling at 48,000 samples per second. Some higher-end interfaces can go even higher, just keep in mind that with more samples comes larger files. Also, going above 48 kHz will have diminishing returns once you get to the exporting process (more on this later).
Set the audio levels
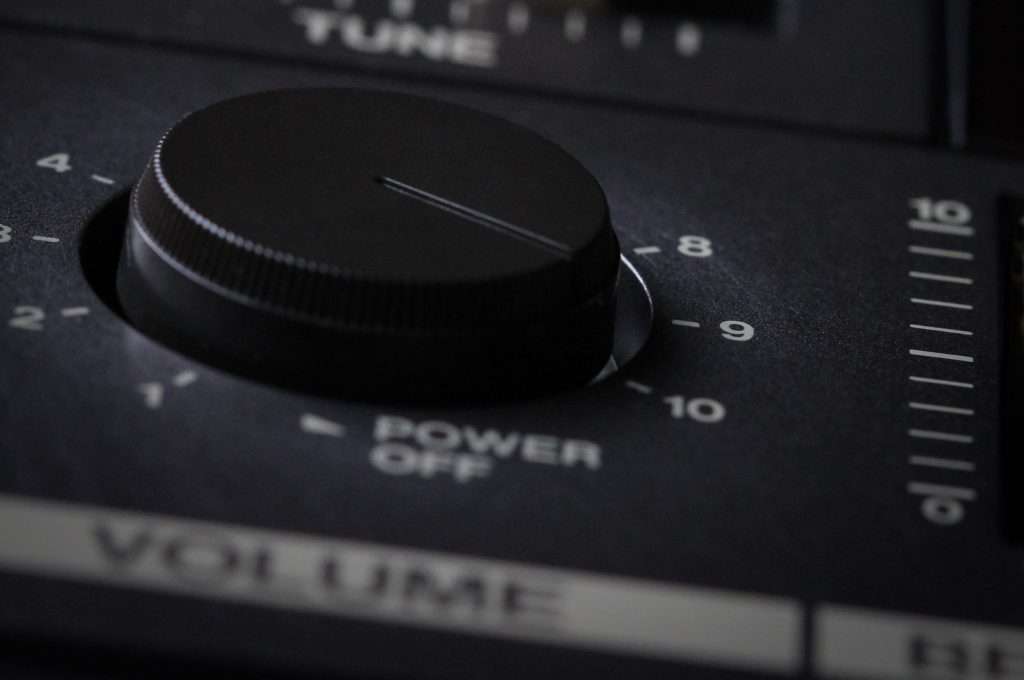
Once you’ve connected your turntable to your computer, you should receive an audio signal in your software. Just because there’s a signal doesn’t mean that it sounds good. If you can, monitor the audio signal using headphones.
Increase the volume on your turntable or stereo until the track is near clipping, but still has a little bit of headroom. This ensures you’re capturing as much dynamic range as possible.
Record the song
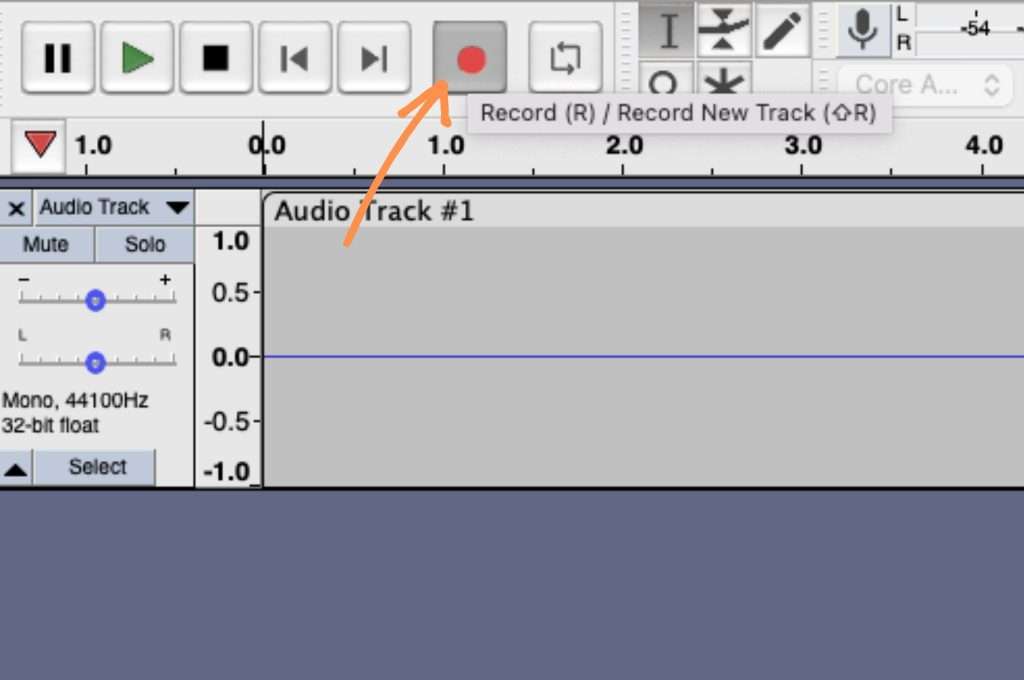
Now it’s time to hit the record button on your software. Once you begin recording, start playing the record on your turntable. Don’t worry if there’s some delay between when you hit record on your PC and play on your turntable; we can trim that off later.
Edit and trim your recording
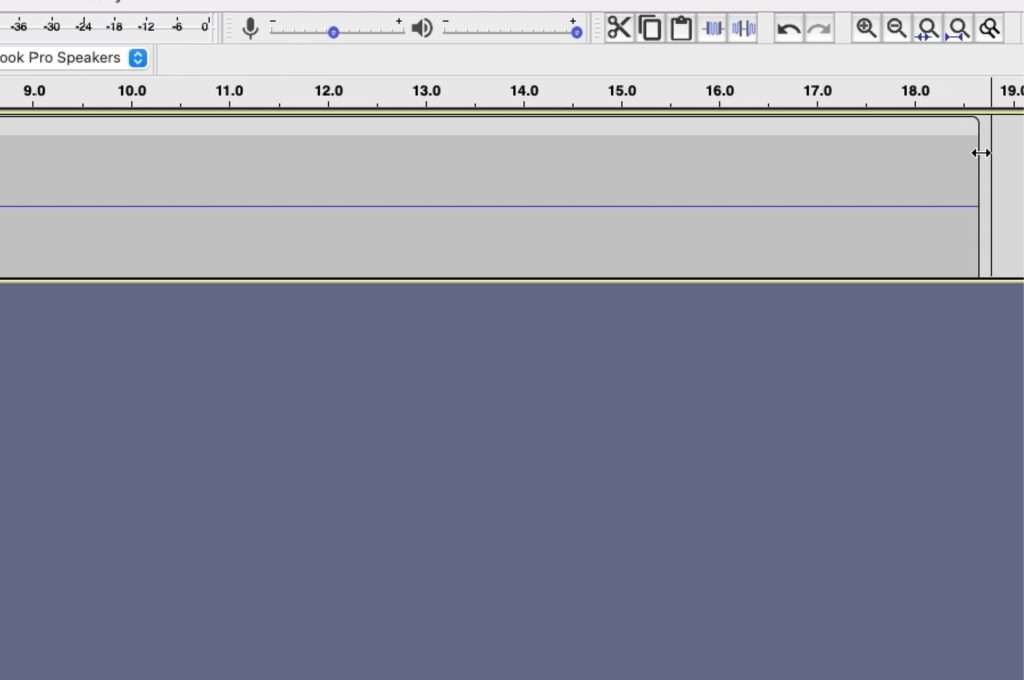
Now that you have an audio recording, trim off the bits when you started and stopped your record so you can get into the music as soon as possible. Depending on what you’re going for, you might want to section each song into a different project and export them as separate tracks, or you may want to simply export the entire recording as a singular track.
Export the track
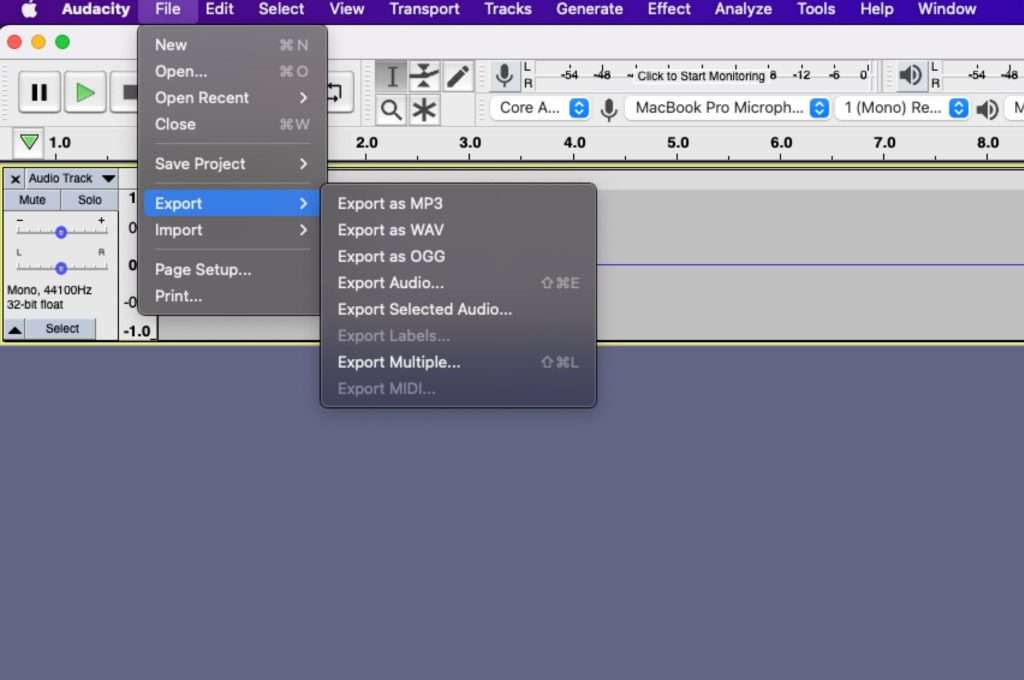
It’s now time to convert your recordings to an actual digital file that you can listen to and enjoy. In Audacity, hit File > Export Audio to begin this process (Export is a common term used among various recording applications).
Here’s where your original recording sample rate comes in. Here are the 3 file types you’d typically be using:
- WAV
- Uncompressed, lossless 32-bit file
- Supports up to 48 kHz audio
- Largest file size
- FLAC
- Compressed, lossless 24-bit file
- Supports up to 44.1 kHz audio
- Moderate file size
- MP3
- Compressed, lossy 24-bit file
- Supports up to 44.1 kHz audio
- Small file size
It’s typically recommended to export in WAV or FLAC files, otherwise, your recordings will be subject to the lossy compression of an MP3 and sound no better than the digital version on streaming platforms
In conclusion…
That’s all there is to it. While digitizing vinyl can seem daunting at first, it’s a fairly simple procedure and your computer handles most of the tough work. As long as you have the right equipment, you can start digitizing your vinyl collection for under $100!
Of course, there are high-end devices that can improve quality further, but for a basic at-home setup, all you need is an audio interface or a USB turntable.
We hope you found this guide helpful. Thanks for reading!

Lead Editor / Owner
After beginning his career in the video and audio recording industry, Andrew started HiFi Hippo to share his knowledge and passion for vinyl and vintage audio with other readers.